

Good quality saturated fat is one of the cornerstones of eating ancestrally. Our ancestors have been using it in their kitchens for centuries. Yet it’s not always easy to access in our modern world and, when you can find it, it is often very expensive. For this reason the last decade has seen me rendering lard from pork back fat in my own kitchen regularly.

We use lard as our main fat. I fry with it, add it to breads, use it in casseroles, line bread tins with it and it is my go-to fat for spreading on bread. I choose lard over tallow (which is made from cow fat) for three reasons:
- I prefer the flavour
- I can more easily access good quality pork back fat than I can fat from a cow
- I find the softness of lard at fridge temperature much easier to work with in the kitchen and at the table.
It is not difficult to render lard (even in the smallest of kitchens) providing you are organised. It does take time though! Expect the process to take 6 to 8 hours. Although you need to be available throughout that time, the actual hands-on time is very little.
I use a slow cooker to render lard as I find it the simplest equipment to use for the process. My medium-sized slow cooker can fit 4 kg (8 pounds) of pork back fat. From that original 4 kg of fat I usually end up with around 2 kg of lard. This lasts my family 4 to 6 weeks.
There are two ways of rendering fat – the wet method and the dry method. The wet method, which utilises water, creates a much more fine, ‘clean’ and deodorised fat, but is very time-consuming and fiddly. The dry method does not use water and is easier. I have used both methods in my kitchen but have settled on the dry method for almost all of my rendering. It creates a fat that stores well in the fridge for weeks (or the freezer for months). This article will talk you through the dry method.
How to Render Lard (in a Slow Cooker)
Be choosy about your source of back fat
All fat is not created equal. The type of food an animal eats directly impacts nutritional profile of its fat. In addition, if animals are treated with antibiotics or their food treated with fertilisers and pesticides this will show up in their fat and therefore your lard. Choose pork back fat from a farmer that uses traditional feed and doesn’t routinely use antibiotics. It’s also worth looking for fat from traditional-breed pigs – newer breeds often have non-traditional fat profiles that don’t ally with ancestral eating.
Consider asking for your fat to be ground
Back fat needs to be cut up into small pieces before it can be rendered. Doing this for, for example, 4 kg of fat can take over an hour. If you ask your farmer/butcher to put the fat through the meat grinder, you will save time – being able to put this straight into your slow cooker with no further preparation needed.
Equipment
- Slow cooker commensurate with the size of the back fat you wish to render.
- Utensils to aid with straining, cooling and storing the lard.
We use:
- large metal spoon
- large metal bowl
- colander that fits inside the large metal bowl
- medium metal bowl
- oven gloves
- lots of freezer-safe containers to hold the lard
Process
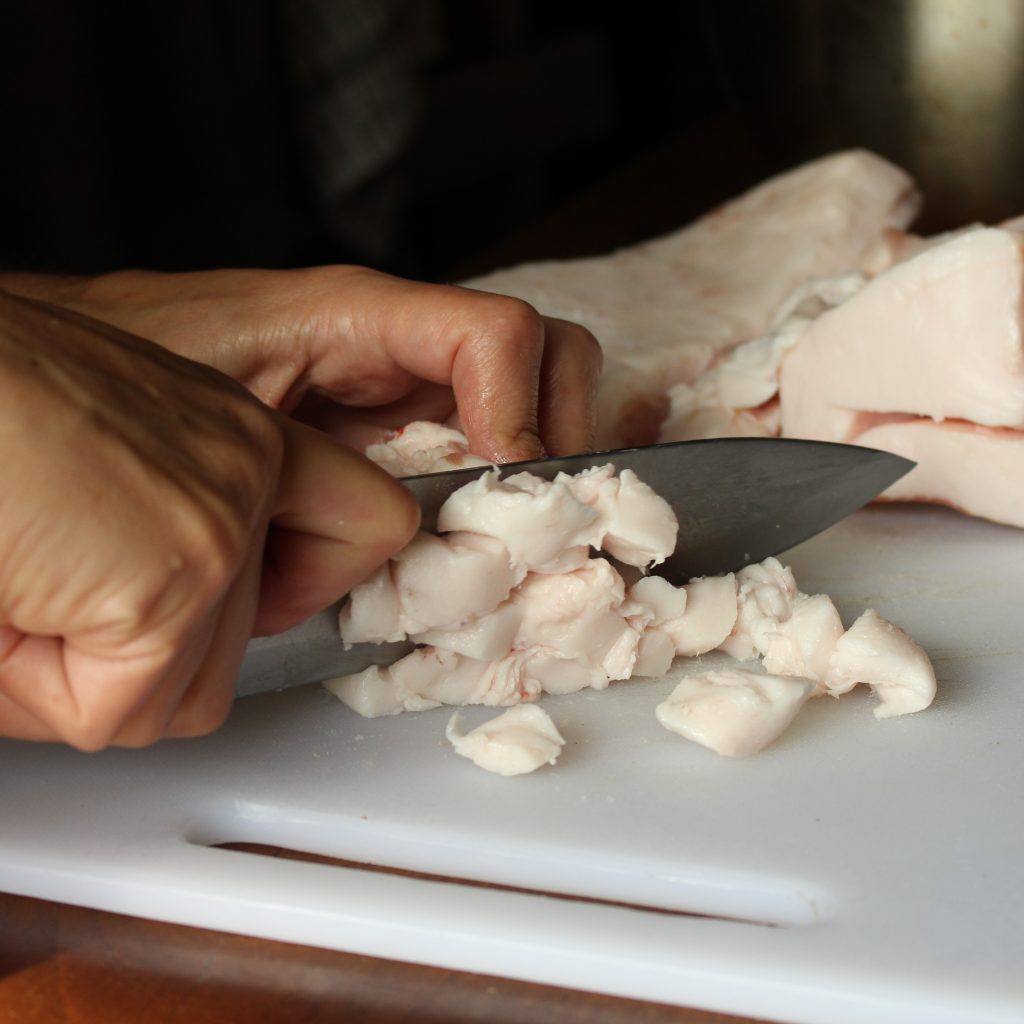
1/ If your back fat has not been minced, dice it into 2cm squares.
2/ Put the prepared back fat into the slow cooker, close the lid and turn it on. Slow cookers vary greatly in their temperatures – mine is not particularly hot and I start my lard on high and then after four or five hours turn it to medium. You may need to use different temperature settings depending on how hot your slow cooker runs.
Tip: Slow cooker’s often take a long time to heat up. If you are short of time and want to speed this process up, put your cut-up back fat into the ceramic insert of your slow cooker and place this insert into your oven on a medium heat (150°C) for an hour. This kick-starts the process of fat release.
3/ Prepare your equipment and space to receive the liquefied fat. I find a metal colander resting inside a large metal bowl the easiest method.
4/ Watch the heating fat. When you see a good amount of liquefied fat around the edge of the solid back fat, drain this liquid from the slow cooker into a bowl using a colander to catch the solid pieces of back fat so you can then return them to the slow cooker.
Tip: If you are processing a lot of fat, it can be hard (particularly at the early stages of the process) to tip the entire contents of the slow cooker through and into the colander. A way to get round this is to use a large serving spoon to spoon out half of the solid fat into your colander and allow it to drain, before temporarily removing what’s in the colander to another bowl and then pouring the remaining contents of the stock pot through the colander. You can then return both sets of solid fat to the slow cooker to continue the rendering.
5/ Repeat step four again and again (I tend to strain my fat every 1 to 2 hours). The the solid fat will get smaller and smaller and you will get more and more lard! As the lard builds up in your large metal bowl test it for temperature and when it has cooled down sufficiently transfer it into containers for the fridge or freezer so that you are leaving your large metal bowl free to collect more lard from the next straining.
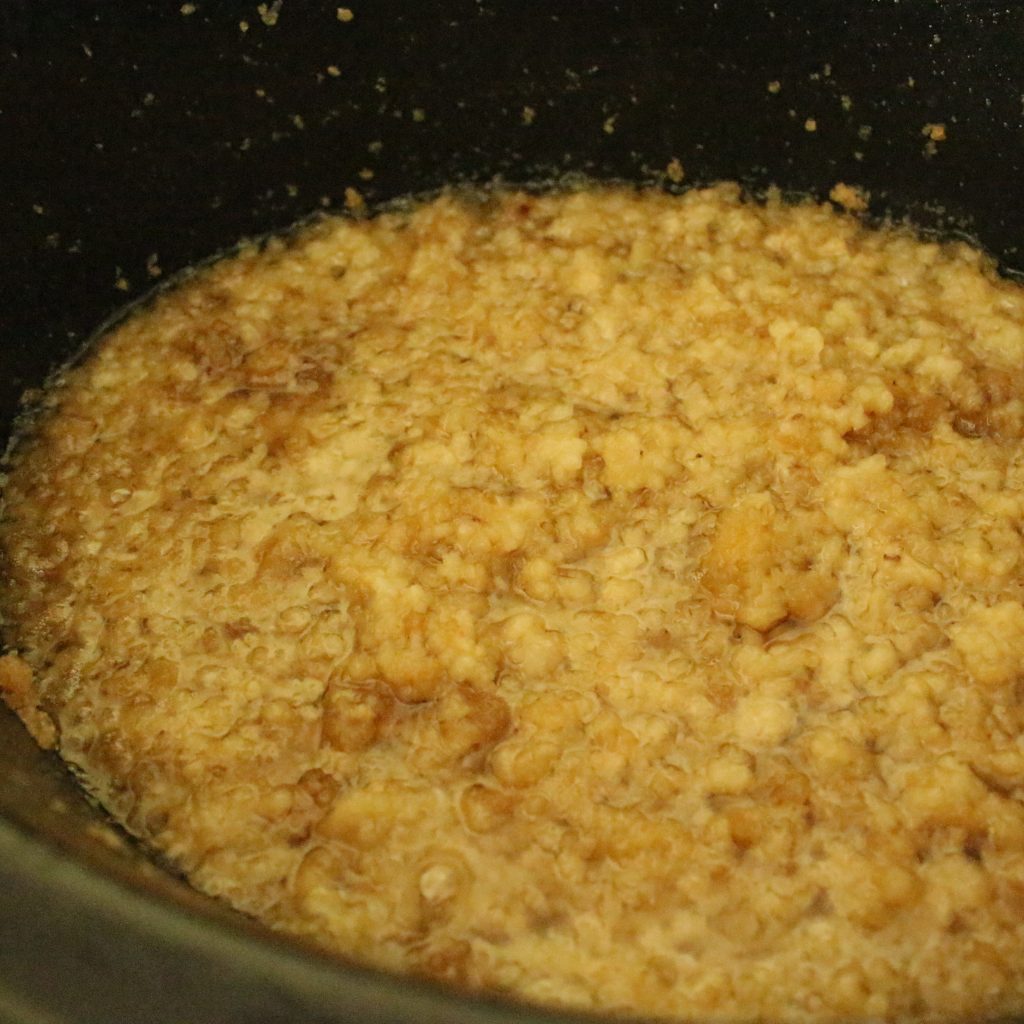
6/ As this process goes on you will notice the solid fat starts to give off a lot less fat – the rendering is nearing an end. The more times you render, the more you get better at judging when to stop. Do a last strain of the lard/back fat and turn off your slow cooker. Leave it to cool before cleaning.
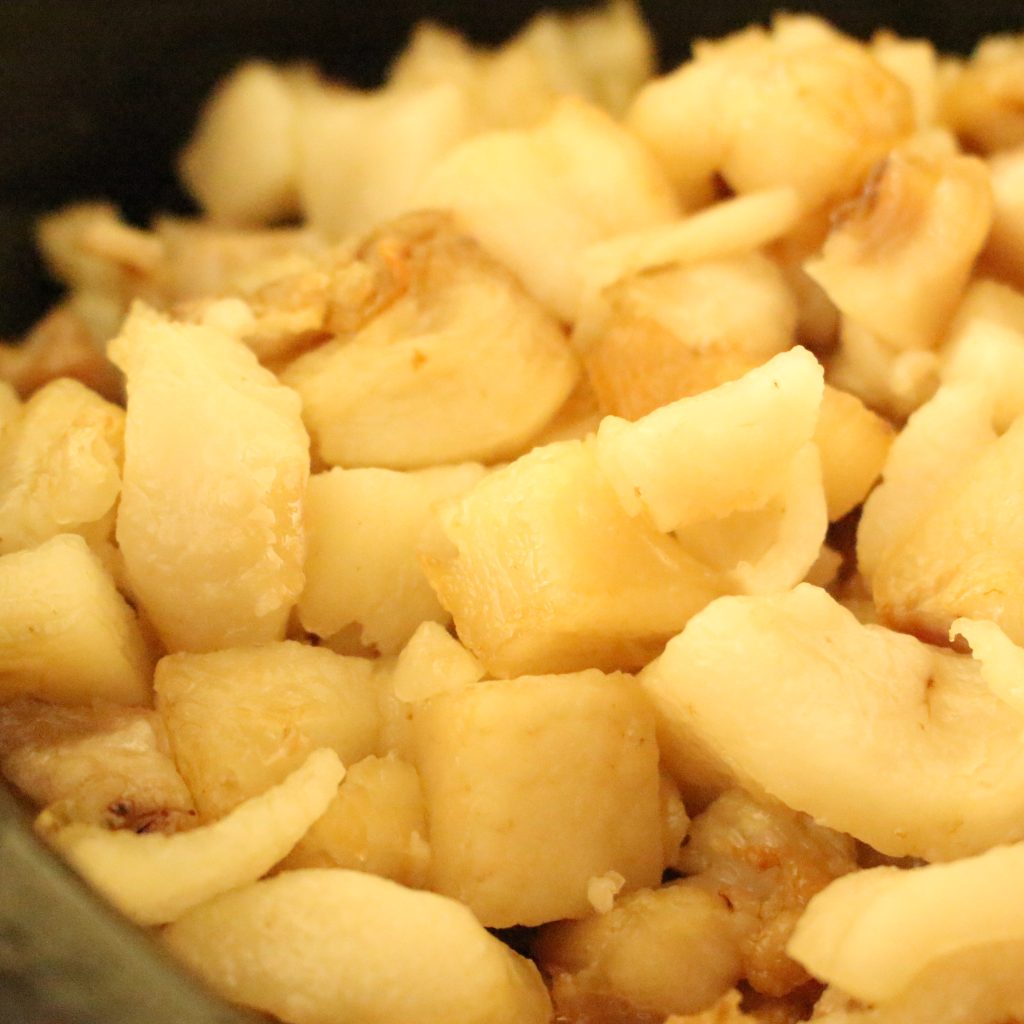
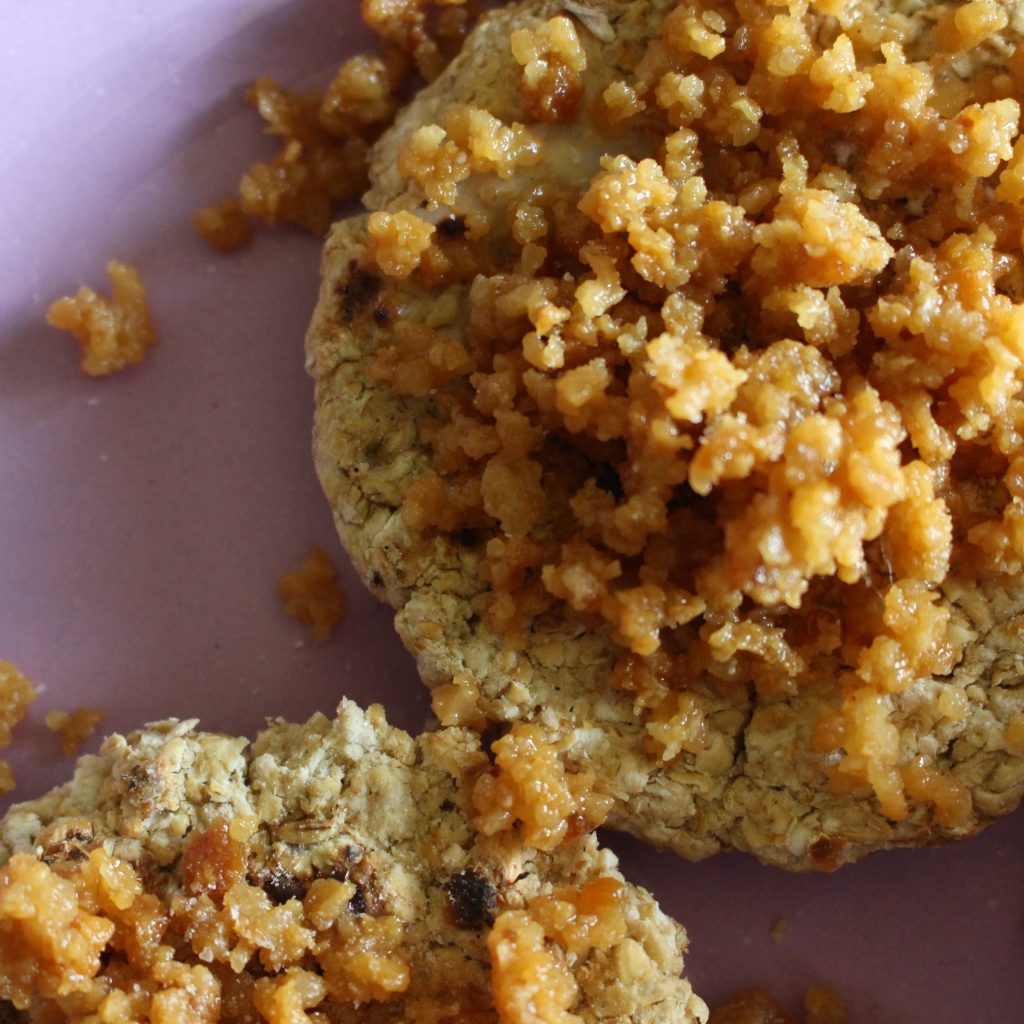
Cracklings!
In the process of making lard, nothing need be wasted. After your last straining you will have the remains of the original pork back fat in the colander. These are cracklings! They are delicious and have been used in foods by cultures worldwide.
Here are some of my suggestions:
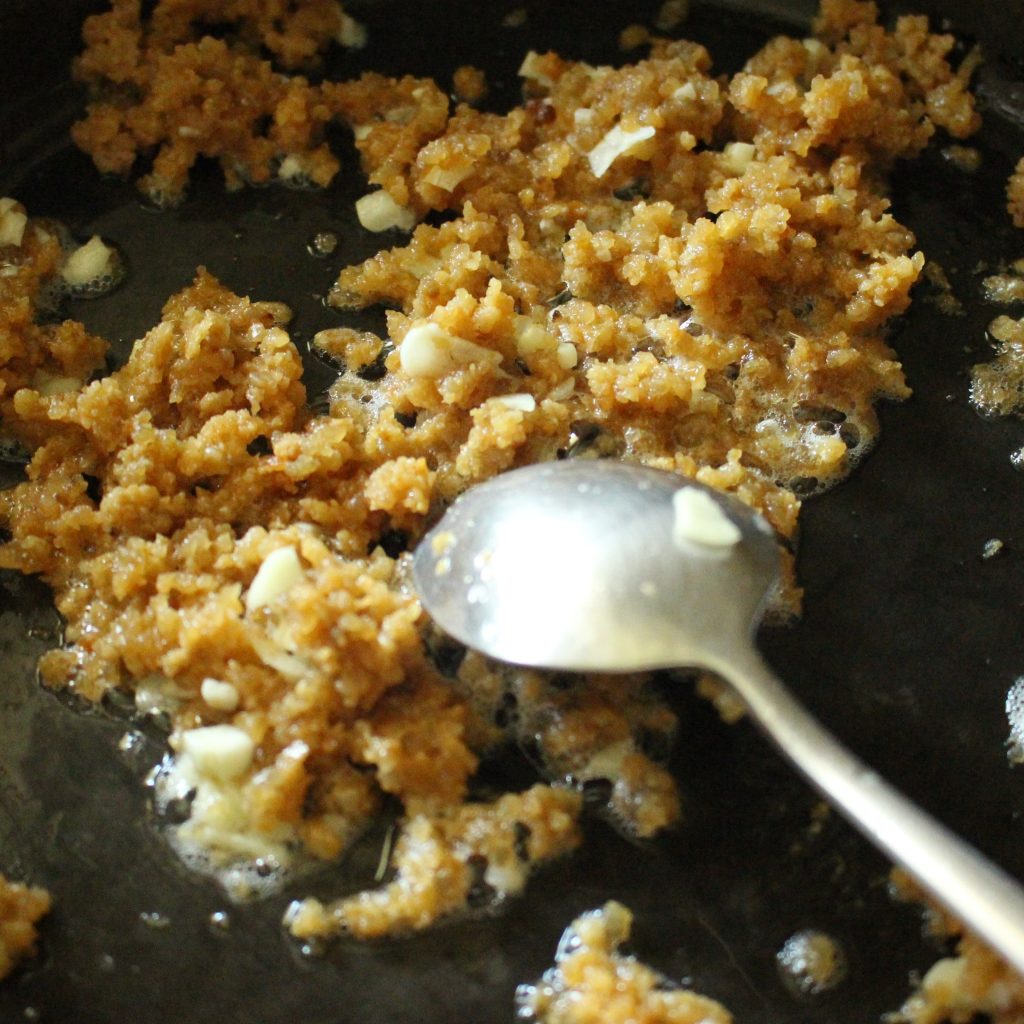
If you want to eat some immediately, heat up a cast-iron pan and cover the bottom of it with some of the still-warm cracklings. Stir them as they brown and crisp up further. More fat may be released from them and you can drain this from your cast iron pan as you’re cooking. Serve these cracklings on fresh bread, just-cooked vegetables, scrambled eggs, stews…they are delicious on almost everything! Whilst they are still in the pan you can enhance them with fresh garlic, herbs, salt and pepper.
You can keep the remaining cracklings in the fridge for at least 10 days. I pack them into a glass container and then every evening for days after our lard-rendering session, I heat up my cast-iron pan and crisp up several spoonfuls of cracklings that become a treat to accompany our supper.
Bread with cracklings is amazing! There are many recipes for traditional breads using the leftovers from lard all over the world. In Italy, where I live, cracklings are called ciccioli. Here’s a fun recipe for my own sourdough take on an Italian bread using ciccioli – Pane con Ciccioli, and here’s a recipe that I love from Naomi at almostbananas.net for Slovakian lard biscuits (you can hear Naomi on two Ancestral Kitchen Podcast episodes – #23 about traditional Slovakian pig butchery and #49 about the glories of Slovakian food!).
Cracklings also make incredible spreads – something they’ve been used for traditionally in Eastern Europe for many generations. I love to hard-boil some eggs and put them into the food processor with an equal weight of lard cracklings plus lots of salt and pepper. The resulting spread is delicious and keeps in the fridge for ages! (You can hear me talk about this spread on the patron-exclusive podcast Kitchen Table Chats #16. To get access to this and much more, join Ancestral Kitchen Podcast’s Patreon community at the Companionship level here)

Bring ancient grain baking into your kitchen!
Download my free 30-page guide with five healthy and tasty 100% ancient grains recipes.
I can’t wait to try this process. I just need first to find a good source of pork fat. Thanks Alison
Good luck with the sourcing and enjoy the lard!
where are you at?
Hi Alison, can I make it without a slow cooker?
Best Jette
Yes Jette, you can also do the process in the oven. I’ve not done it this way but I know others who have. If you search online for ‘render lard in oven’ you should find a guide for timings/temperature.
Thanks Alison for this great step by step dry preparation. I’ll be making spelt sourdough today to try with this.
My family doesn’t like the porky flavor though (I do!). So to wet render, do you have a good site you can share for that? I tried it once and picked up too much water from the bottom, which makes me think it’ll go bad somehow.
Hi Diana!
I’ve never wet rendered lard. Only ever done it with tallow. I think it’d be difficult as you need to clearly separate the fat and water and scrape impurities off the fat where it meets the water, which is hard as lard is so much softer…so I (like you found) don’t think it’d work well.
Here’s the vid I followed for the tallow wet render in case you want to see (https://m.youtube.com/watch?v=M4UiZe4mjmg).
Yeah to the spelt sourdough!
Hi Alison,
I just made a ham for New Year’s (using a Cook’s smoked ham), and poured all the fat remaining in the roasting dish into a container after cooking (the gravy of sorts I suppose). Once it chilled, it separated a bit, leaving a layer of thicker white on top and a more gelatinous transparent yellowish stuff below. Would I be able to turn the white layer into lard (or is it already lard technically, just in need of more rendering?) Or can I use all of it for rendering into lard?
TIA!
Hi Jennifer,
This fat has technically already been rendered. You can use it as it is. I often do this when roasting a joint and it’s been done for centuries this way. The fat takes on any extra flavour from the cooking (like the herbs and salt) so it’s extra-special!
where are you at?
I have used the wet method to render bear fat and it was quite the process. After 2 days of refrigeration, strain and skim reheat, refrigerate and strain and skim…… (you get where I’m going with this) I ended up with a mediocre product. It didn’t go to waste as I only use it to season my grill. So, I am rendering pork fat today and was looking for a dry technique and I’m gonna try this one. But why can’t lard be stored in the pantry if the lid seals properly? or should it be “canned” in a water bath? any info on storage would be appreciated.
Hi Candi,
I also find the wet method tedious.
You can keep rendered lard in the pantry as long as there are no impurities in it. Those would potential harbour bacterial growth and you’ll have mould on your fat. It’s happened to me once with a store-bought lard. I just use the fridge/freezer to store to save this potential from happening.
Thanks,
Alison
I just got back my pigs from the butcher. I asked for the kidney fat and some of the other scrap fat. I never thought I’d render my own lard! Using your dry method is much easier than I thought! Thank you!
Hi Emily! This is great news. Glad the method works for you – we use it virtually every month. How do you like the lard?!
Genuinely curious— what do your cholesterol levels look like? I eat a ton of eggs and bacon and my drs are always astonished at how high my good cholesterol is.
It’s good to hear your good levels are so high! I haven’t had mine tested for many years. I trust in the food that I’m sourcing/eating, the wisdom of our ancestors’ food choices and the other things I do for my health. Neither do I think that the modern interpretation of ‘normal’ cholesterol levels is coming from a place that is sane.
I love your answer to the cholesterol question!
I have two pigs worth of fat to render and will use the slow cooker as I have once before. seems easiest. Love your website.
Thanks Annalisa. Enjoy the lard!
Thanks for the recipe page to add to my post! https://www.facebook.com/CookinAndACodin/posts/pfbid0FkcnbwGXHE6x8M4aZV8dctDsYc4XWyuwDecrv8qDC9VTJZ9QTMTKy8jr4vP9ZYL3l
My family is a foodie family, but some of them aren’t to this place yet.
I’m wondering if you have any tips for cleaning up? Despite being careful not to pour fat down the drain, it still seems like there’s enough that finds its way down the sink that we have to do occasional yucky under-sink drain clean-outs.
Thanks for the ideas for cracklings…they’ve not seemed appetizing to me before, but I will try them out next time I render!
Hi Bea, This is a good question! We work hard to spill as little as possible by having a good set up. When finished we scrape everything, catching the little bits in a big bowl. Then we wipe the utensils with paper towels (that go in the recycle). Then we often put boiling water on what’s left and pour it out at the bottom of the garden. If any does go down the sink, we follow it with plenty of hot water. Also, I recently bought some eco-sticks for our sinks that apparently stop build up. Not sure how effective they are yet.
Thank you for the reply! I will implement the boiling-water rinse out and check out those eco sticks. Cheers!
I use pork back fat from my local grocer here in Melbourne to make the fat for cooking. I have found that a microwave on 20% power is a good option as, on mine, I can set the timer for 70 minutes at a time. I do empty the pyrex dish when it starts to fill. The solids left after a couple of rounds I put into the airfryer set at 130° for20 minutes to get the last of the oil from the solids. Once cooled I put the solids in a food processor and blitz them and use the ‘crumbs’ to add flavour in stirfries etc. The rencered fat and the crumbs don’t seem to go rancid even left out of the fridge.
I don’t have a microwave or an air fryer…but thanks for sharing your method. You are right, even left out of the fridge, these fats don’t go bad 🙂
how many pounds of fat per pound of rendered fat?
I have never made this calculation. I take whatever fat my farmer can give me, fill my slow cooker with it, and then pour the results into containers for the freezer without weighing. I have noticed that different pigs from different areas produce different amounts of lard from the same amount of back fat though, so I think it’s variable.