

Thank you to Meredith Leigh for posting this on her Instagram and lighting my ancestral experimentation fire!
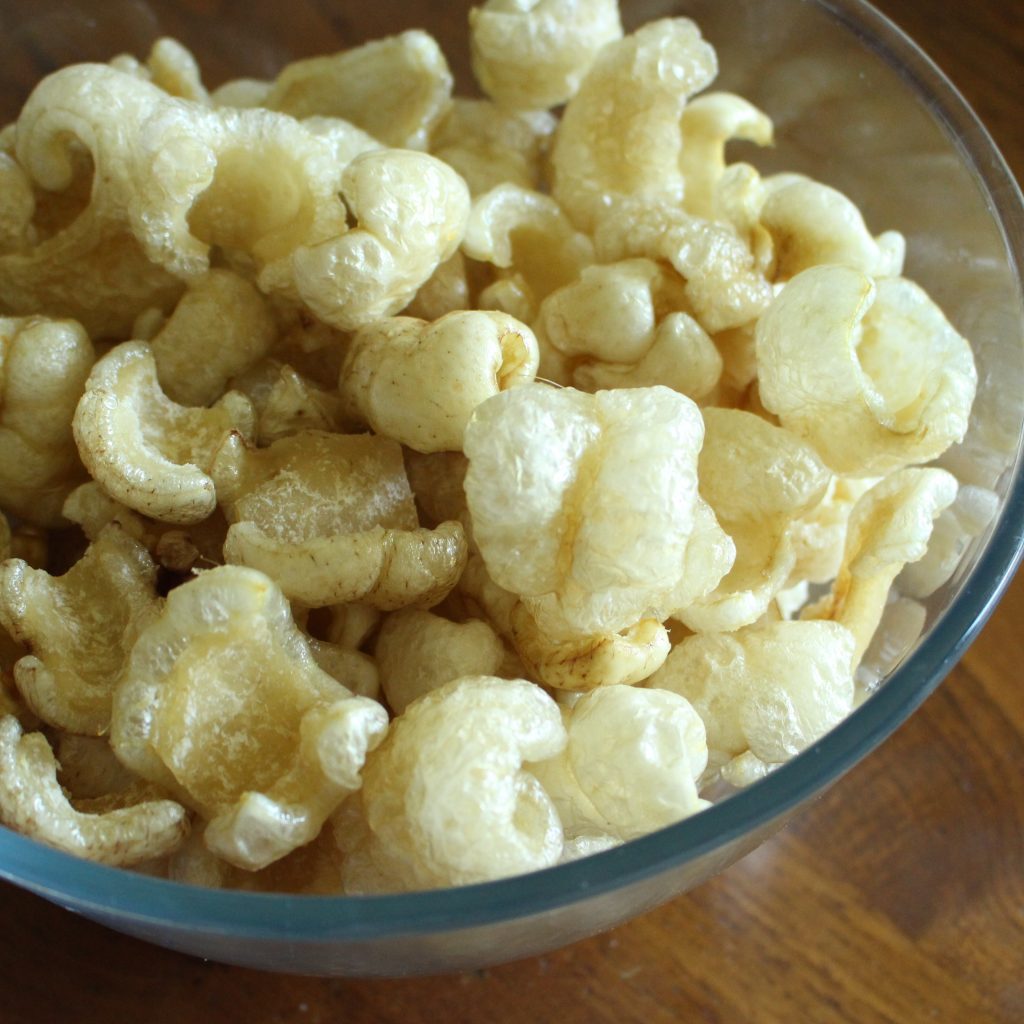
Crunchy pig skin is a marvel. A product that looks like waste, transformed into a light, crispy, crunchy joy of a snack. I like to call these ancestral popcorn after having given the first batch I ever made to my son to accompany his first ever trip to the cinema 🙂
Watching the skins puff up is a little bit of kitchen magic!
You will need:
Pig skin
Ample lard to deep fry in
Probe thermometer
A dehydrator
Method:
Watch the video above to see all this in action!
Before you start you have the option of scraping the fat from the underside of the skin. The first time I made these, I did this. It makes the process less messy but takes a lot of time and effort. Since that first time I have not subsequently scraped the fat. Instead I choose the parts of the skin that have less of a covering of fat on them and work only with those (saving the thicker parts for oven roasting later). Some of the fat melts off in the boiling/dehydrating, but it’s less work to clean it up than it is to do all the scraping!
1/ Cut the pig skin into small squares (around 4 cm width).

2/ Gently boil the squares in stock or water until they are soft enough to easily cut with an eating knife, for me this takes somewhere between 25 and 40 minutes.
3/ Drain the skin (you can reserve the stock, if you used it, to drink) and dehydrate the skin squares until they are very hard. In practise, for me, this means putting them in my dehydrator overnight.

4/ Prepare the lard for deep frying. Pay attention to the lard at all stages of this process. Fat can burn and if it is too hot, catch fire. Heat ample lard (for me around 4 cups) in a deep saucepan until it reaches 185-190C/350-380F. Work the next steps with your thermometer at the ready, altering your hob temperature, always checking that you are keeping the liquid fat between these temperatures.
5/ Using a slotted spoon, lower a batch (c.10) of the skin squares into the at temperature lard. Wait and watch as they pop and puff up. When they look light and fluffy, remove them to a plate covered in a piece of absorbent paper.
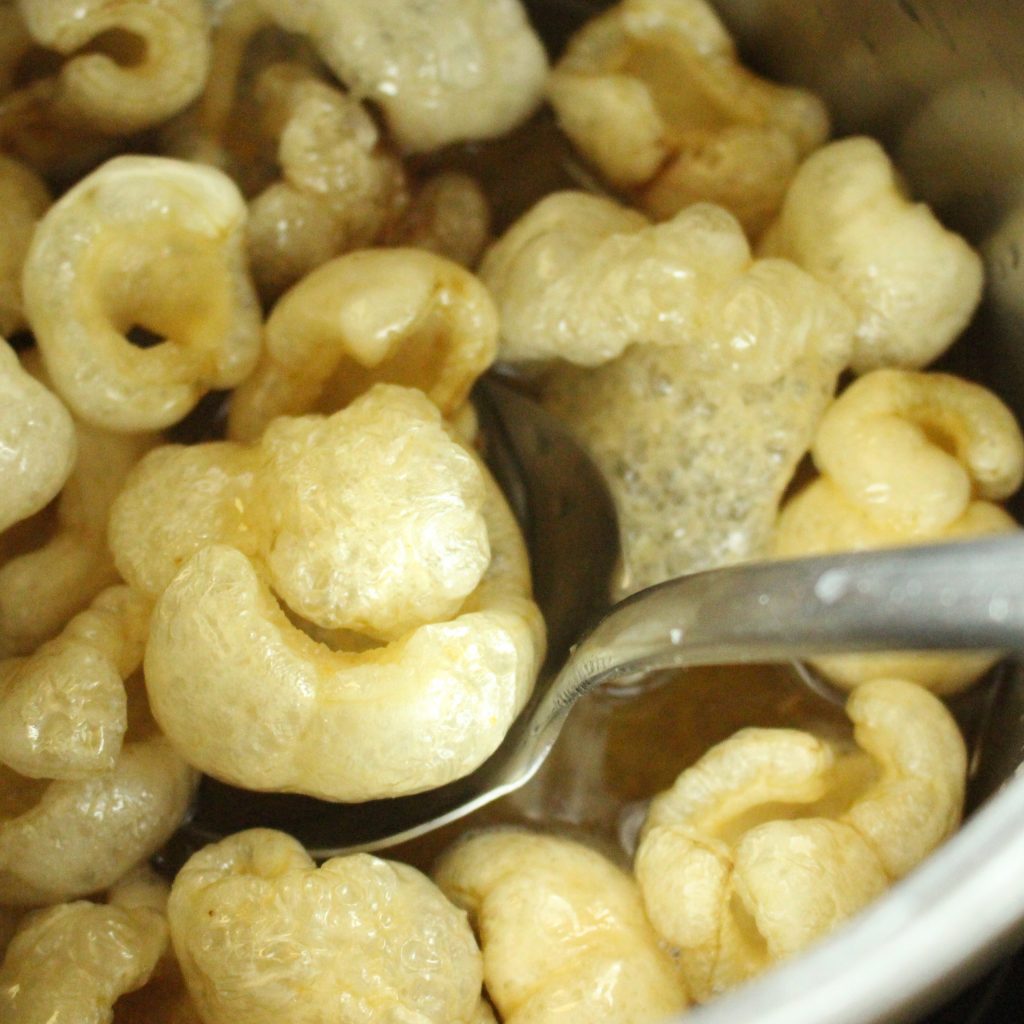
6/ Repeat step 5 until you have fried them all!
7/ Slowly let the lard return to ambient temperature before cleaning up.
8/ If desired, sprinkle the crunchies in a spice mix/salt. Enjoy!
These crunchy pig skins have lasted 5-6 days for us (but usually get finished way before then!)

Bring ancient grain baking into your kitchen!
Download my free 30-page guide with five healthy and tasty 100% ancient grains recipes.