


Eating gluten-free (or lectin-free) doesn’t mean you have to go without sourdough bread. It’s simple to create and maintain a gluten-free sourdough starter and use that to make your own gluten-free (and lectin-free) sourdough bread – I’ve been doing it in my own kitchen for several years. This article will explain how:
What you will need:
Flour – I routinely use millet flour and this article will show you how to create a millet sourdough starter, but you could also use sorghum flour, buckwheat flour or brown rice flour. To create a starter, you’ll need about at least 500g of flour, to be safe, get yourself 1kg.
Water – Chlorine kills the bacteria/yeast you are trying to nurture when creating a starter, so use filtered water, buy mineral water, boil your water and let it cool, or pour your water out the night before and leave it to stand. All of these reduce its chlorine content.
Jars – These should be made of glass, with necks wide enough for you to be able to get a spoon in and stir. You’ll also need lids for them, although these can be improvised with pieces of cloth and elastic bands. You’ll need at least 2 jars, as we’ll use a clean one every time we feed the starter.
Kitchen scales – Ideally these would be digital.
A Warm Place – Your starter will grow best in a warm environment. I have found 22C/72F works well, but it could be warmer. You will often struggle with anything lower than 20C/68F. If your house is not that warm, work on finding a way to keep the starter warm. You can read my article How to Keep Your Sourdough Starter Warm for advice.
You will also need:
A consistent routine. Building a starter requires a small amount of attention at least once a day. Find a way to work this into your routine so that you do not forget. That is easier said than done if you hide your starter away in a warm spot like an airing cupboard. So put a note on your noticeboard, write it in your diary, set the alarm on your phone or put a note in your bread box. Do whatever you need to do to help you remember. You will not need to keep this up for ever, just for a week or two.
Patience. Starters take time. Don’t expect to be baking bread for at least a week, and probably more like 10 days. See it as an opportunity to work on honing you patience. In addition to this wait, starters often they look like they might have ‘died’. Invariably, they haven’t. Just. Keep. Going.
Here’s how:
On days 1, 2 and 3 we will work on our starter just once a day. This should be at the same time each day, so that your starter is resting for 24 hours each day. I find it easiest to work on the starter in the morning, first thing.
Day 1
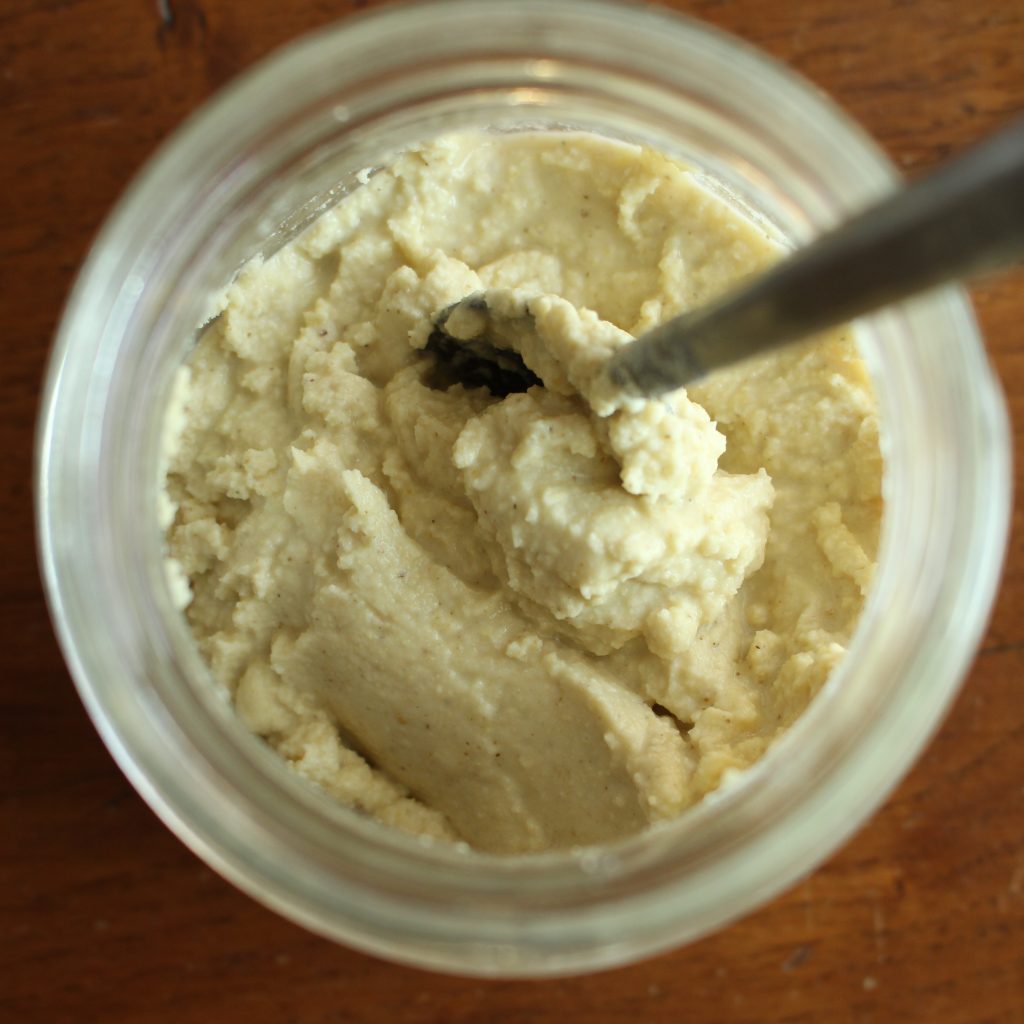
Put a clean glass jar on your scales and weigh in 50g non-chlorinated water plus 50g of millet flour. I find it helpful to put the water in first, to stop flour getting stuck on the bottom of the jar. Mix these together well. It’ll be paste-like, not runny. Make sure it is smooth and there are no lumps. It’s fine to use your finger to scrape mixture off the spoon, as long as its clean. Cover the jar loosely with the lid, or with a piece of cloth and an elastic band. Put the jar into your warm place, not in direct sunlight.
Day 2
Put a clean glass jar onto your scales. Weigh out 35g of yesterday’s mixture into the new jar and add 50g of water plus 50g flour. Mix well until it is smooth and has no lumps. Cover loosely and return to your warm place.
Day 3
Do the same thing as day 2.
From day 4 onwards, we will work with our starter twice each day. The best times for this are early in the morning and late in the evening. This provides even spacing between each feed.
Day 4
In the morning put a clean glass jar onto your scales. Weigh out 35g of yesterday’s mixture into the new jar and add 50g of water plus 50g flour. Mix well until it is smooth and has no lumps. Cover loosely and return to your warm place.
In the evening, repeat what you did in the morning.
Day 5
Do the same as day 4, refreshing your starter in both the morning and the evening.
Day 6
Do the same as day 4, refreshing your starter in both the morning and the evening.
Day 7
Put a clean glass jar on your scales. Weigh out 25g of yesterday’s mixture into the new jar and add 50g of water plus 50g flour. Mix well until it is smooth and has no lumps. Cover and return to your warm place.
In the evening, repeat what you did in the morning.
Day 8 onwards
Continue to feed your starter as per day 7, twice a day. Each time you feed it, take time to notice what is going on. Can you see bubbles through the side of the jar? Does the mixture feel airy? How does it smell? How does it taste (put a tiny bit on your tongue)? The better you know the patterns that your starter exhibits, the better bread you will be able to make.
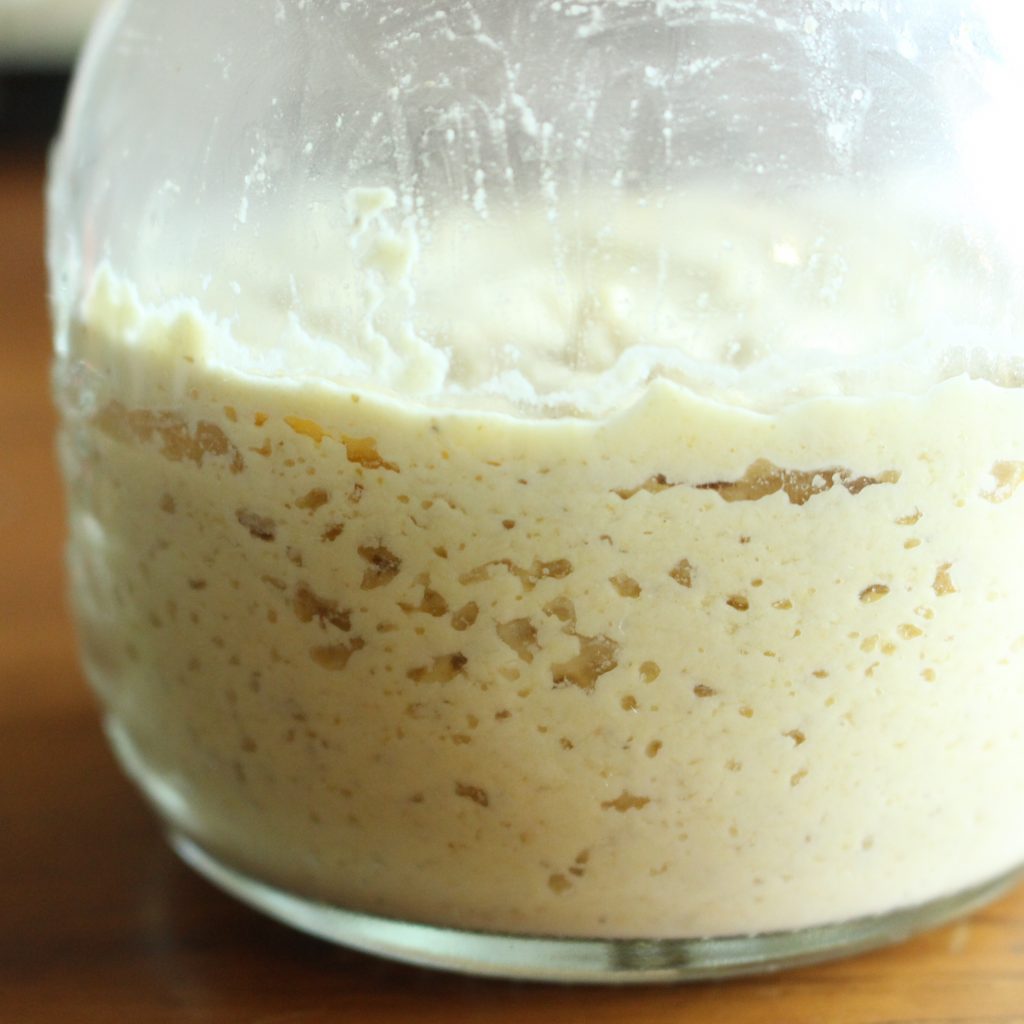
Your starter is ready when, after a 12 hour rest, you return to it and it is bubbly, risen substantially and smells yeasty (and perhaps a little vinegary). Depending on your flour, it may have doubled in size.
If you are having issues with your starter after day 8-10, review the following:
1 – Have you been keeping it at around 22C/72F?
2 – Have you been refreshing it as per the schedule?
3 – Have you been using non-chlorinated water?
If all the above are true, then employ patience and continual twice a day feeding for a few days. If, after more time, the starter is not looking active then talk to someone who has done this before and give them the full details of the measurements. flour, water and temperature you have been using. Ask for their advice, most sourdough bakers (including me) are more than happy to help. I have also found www.thefreshloaf.com extremely helpful.

Bring ancient grain baking into your kitchen!
Download my free 30-page guide with five healthy and tasty 100% ancient grains recipes.
On day 2 & days past you are saying to add into a new jar, what do I do with the old jar? Is the stuff inside discard & I trash it?
Yes. The leftover is waste and you can compost/trash it. After around day 4-5 if the leftover smells active (yeasty and potentially a bit vinegar-like) you can use it in sourdough discard dishes like pancakes.
Ciao! I want to do this. Great recipe.
what does one do after the starter is ready?
storage and how is it maintained ad infinitum?
Brava!
Hi Maggie,
The starter can be maintained by keeping in the fridge and feeding weekly.
I have the same maintenance routine for all of my starters, whether they are made with gluten grains or gluten-free grains. You can see an illustration of the routine on the bottom half of this graphic that I drew:
I hope this helps!
Greetings,
So after day 8 it looks great, smells great, made a great loaf, move starter to fridge? Covered or still with cheese cloth? Weekly feedings if not baking every day?
Hi Verna, Great to hear your starter is strong and makes a good loaf! Now move it to the fridge, covered with a proper lid. This will help slow it down so you don’t have to refresh it so often. And yes, if you’re not baking with it everyday, weekly feeding should be fine. Thanks, Alison