

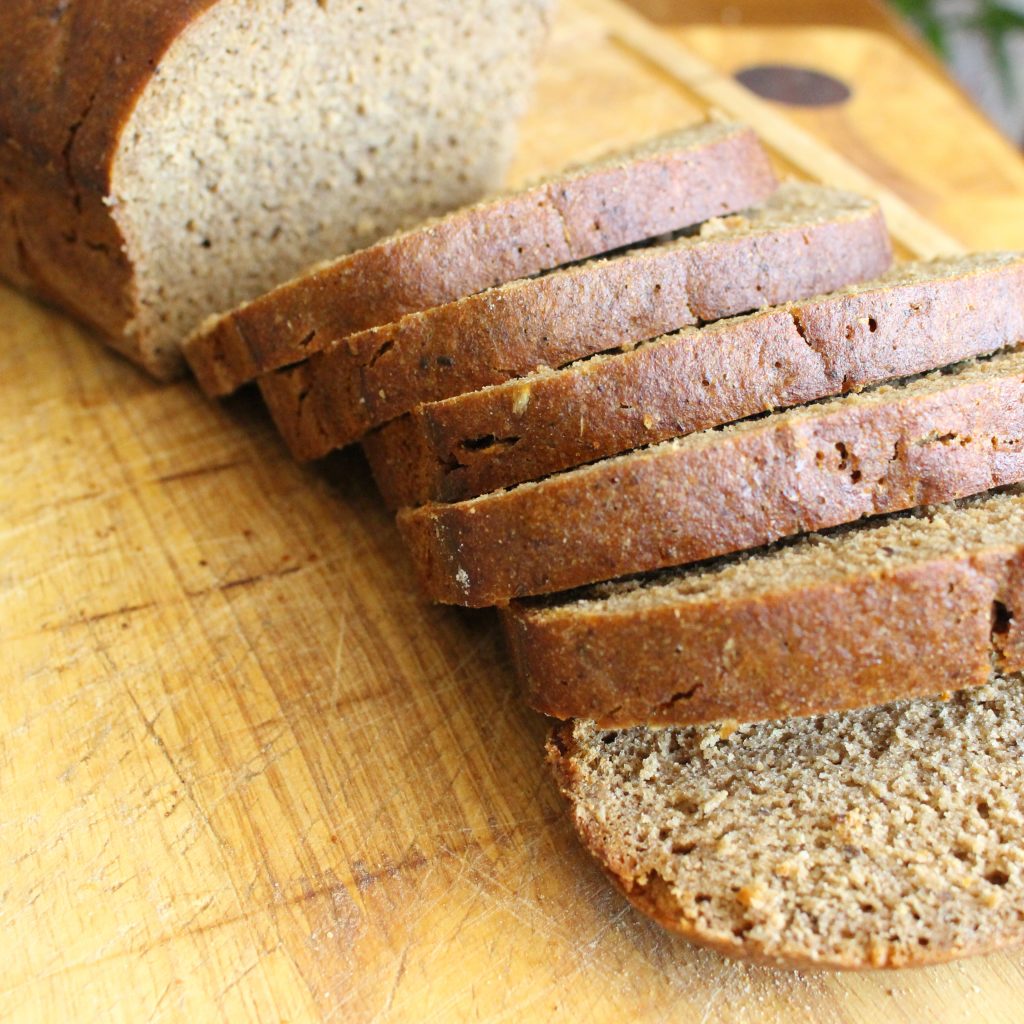
This is by far my favourite rye bread. It’s dense, but not too dense. It’s cakey in a really good way. Its flavour is rich and deep, made a touch sweeter by the addition of a little molasses. And some sort of magic happens with the inclusion of toasted caraway seeds and malted grains.
If you like avocado, try it on top of a slice of this. Or spread on a thick portion of butter. It is just beautiful.
Borodinsky is a traditional Russian bread. I’ve played with the original recipe (which I found on The Rye Baker’s site) – hence you’ll find here a method that works for 100% wholegrain rye and that uses the nutrient-dense molasses, instead of white sugar.
Some things you need to know:
- It is made over two days – you’ll prepare some things the evening before you want to bake and let them sit overnight.
- Its process includes a scald. If you are new to bread-making, don’t be intimidated; this is simply flour mixed with boiling water.
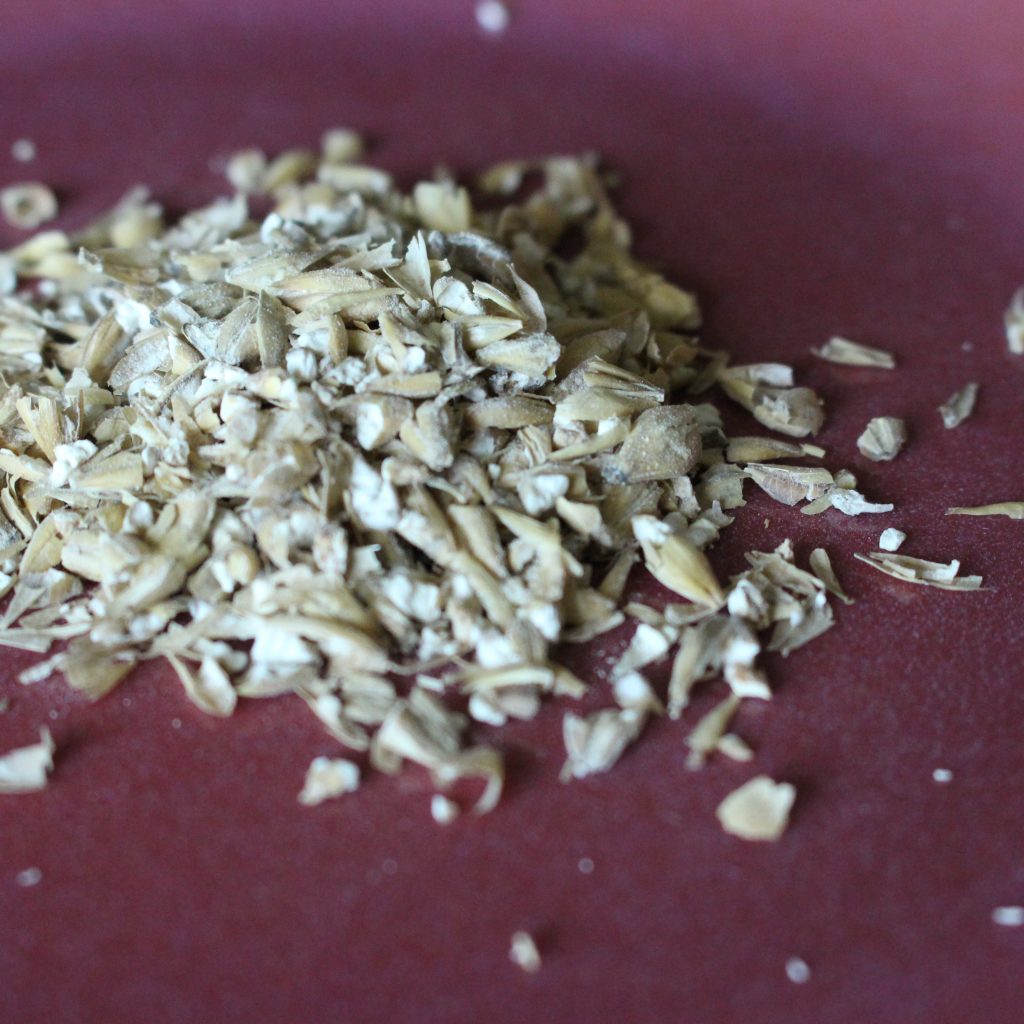
- You will need malted whole grains – traditionally malted rye grains, but I have often used malted barley grains. These can most easily be bought from home-brewing supply companies.
- I make it by hand. It’s a sticky loaf but satisfying to get your hands into.
- You’ll need an active wholegrain rye sourdough starter. If you want guidance on how to create this, you can use my post How to Create a Sourdough Starter.
- It’s baked in a large loaf tin, big enough for a kilogram loaf. If you have one with a lid, use that, if not you’ll make a tent for the tin with foil. A probe thermometer, to check the internal temperature of the loaf, is also invaluable.
Ancestral Cook-Up is a monthly recipe that you cook along with me.
It works like this:
- Check out the recipe
- Cook it some time this month
- Share what you’ve done
Wholegrain Sourdough Borodinsky Rye Bread
Day 1 – evening:
Make the scald and the sponge.
For the scald:
204g wholegrain rye flour
592g/ml boiling water
41g rye/barley malted grains
4g caraway seeds
Toast the malted grains and the caraway seeds in a medium-hot dry frying pan, stirring constantly so that they don’t burn. These will be ready after 5-6 minutes, you’ll smell them and notice them darkening.
When they are reasonably cool, grind the grains and caraway to a powder in a coffee grinder.
In a bowl (which needs to have ample room and would ideally be glass so you can see the fermenting through it), mix the rye flour and malt/caraway powder well.
Add the boiling water to these dry ingredients. You can do this by using a glass jug to measure the water by volume and pour it into the bowl, or by putting the whole bowl on a set of scales, pressing the ‘tare’ and weighing the water into the bowl.
Quickly stir the mix, being careful not to burn yourself. Try to remove as many lumps as you can. Using the mixing spoon to push them against the side of the bowl helps.
Cover the bowl with a plate and leave to stand overnight.
n.b. you can also do this process on the stove top, heating and whisking the flour/water until you have a homogenous mix.
For the sponge:
48g wholegrain rye flour
48g/ml non-chlorinated water (if your house is cold, it’s useful to have this warm, at around 40C/104F)
*20g of 100% hydration wholegrain rye starter
* This is how much starter I use to get the sponge to the place I want it by early the next morning in an environment that is around 20C/68F. You are aiming for a sponge that has plenty of fermentation activity – either at a good peak or better, having just collapsed back on itself.
Mix the three ingredients well. Cover and leave to sit overnight.
Day 2 – morning
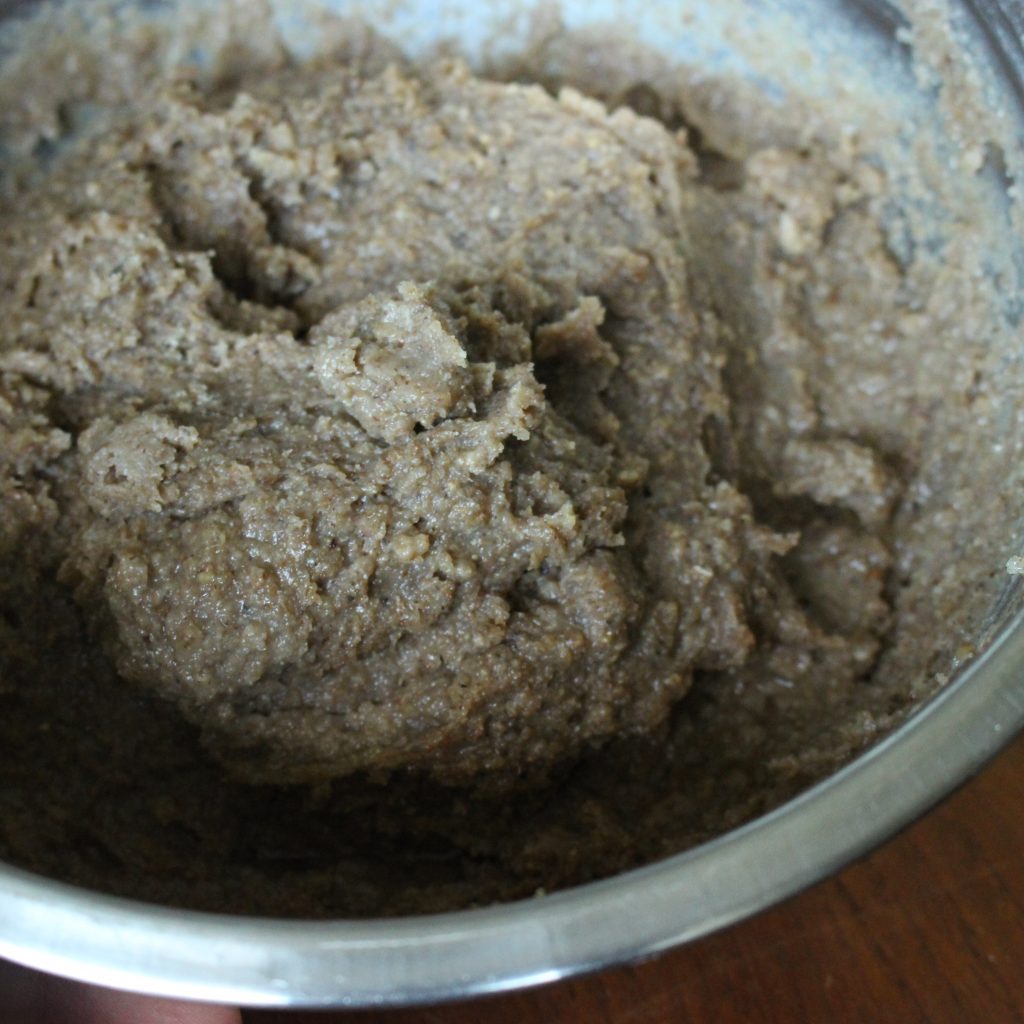
Mix the sponge and scald together.

When your sponge is at a peak or has just collapsed back on itself, spoon it out of the jar and mix it into the scald. Cover with an upturned plate and leave to ferment.
It will be ready for the next step when it is airy. If your bowl is glass, you’ll be able to see air bubbles. Other ways to check are the smell, by tasting a tiny bit and judging its sourness, by knocking the side of the bowl and seeing how airy/hollow the sound is or by digging a spoon in and judging the texture. This fermenting usually takes somewhere between 4 and 6 hours for me when my ambient temperature is between 22C/72F and 27F/81C.

Day 2 – lunch/afternoon
Mix the final dough.
For the final dough:
The scald/sponge mix
512g wholegrain rye flour
8g salt
24g dark molasses
In a very large bowl, measure out the whole grain rye flour. Add the salt and mix this in.
Measure out the molasses and pour it into the scald/sponge combo, mixing well, till you can no longer see any molasses, just a mixture darkened by the syrup.

Add the combined scald/sponge/molasses to the rye flour and salt. Mix this well. Although messy, I find this easiest to do with a hand (use one hand only; keep the other one clean help wipe the doughy one after you’re done). Squeeze it between your fingers. Turn it to pick up the flour at the bottom of the bowl. After a few minutes, it will come together. Expect a somewhat sticky mess! Use a spatula to wipe dough off your hand.
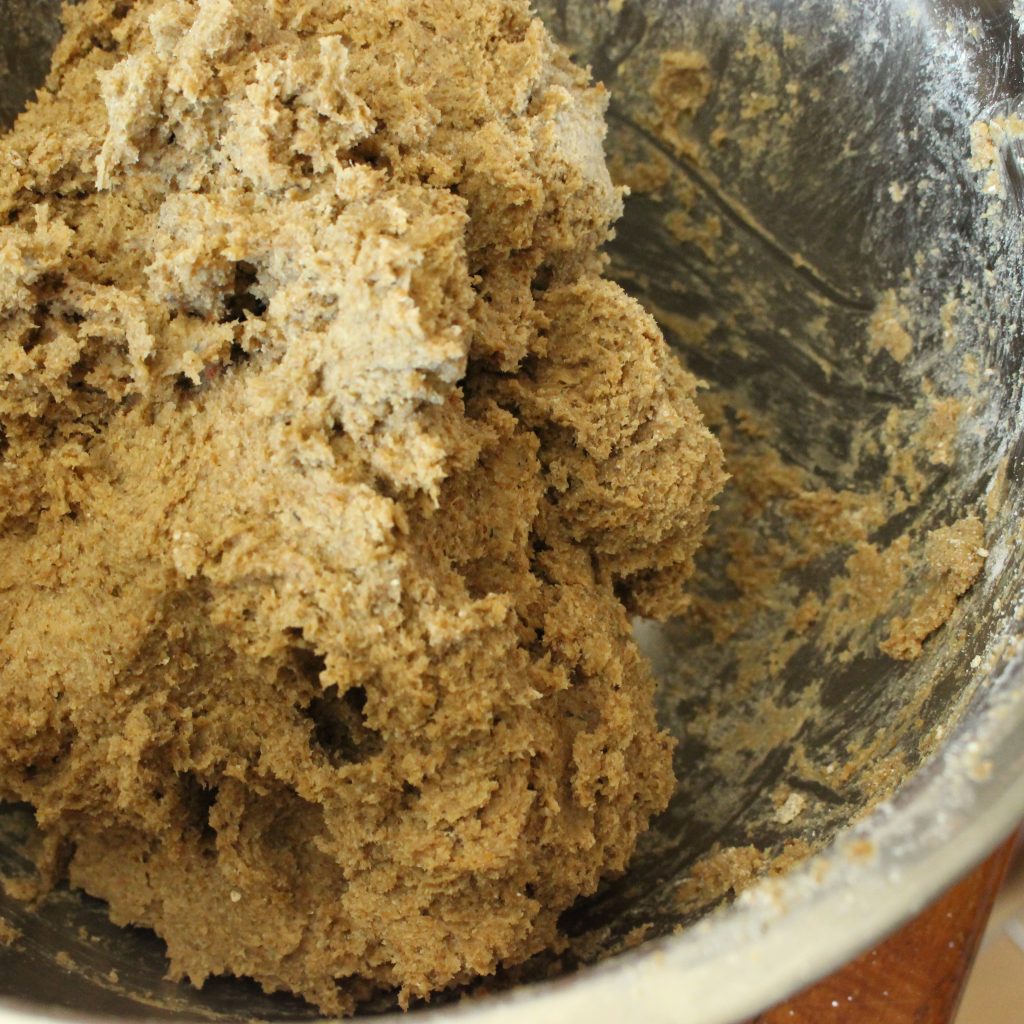
When it’s well-mixed, cover the bowl with a plate and leave it to ferment. With an ambient temperature of 22C/72F to 27C/81F, I do this for around an hour and a half, but if you want to move to the next stage after an hour, or two hours instead, this bread is quite forgiving.
Shape and pan the bread:
Prepare your loaf tin by greasing and flouring it. I use lard and rye flour, but you could use butter/oil instead and any type of flour will work. Or you could line it with greaseproof paper and grease that with any fat.
Prepare a bowl of water that you can dip your hands into.
Make space on your work surface and cover it with a light layer of water.
Wet your hands and take the dough out of the bowl. Expect to leave bits stuck to the bowl – just scrape them off with your fingers and add them to the dough mound. Wet your hands again – don’t be scared of too much water, it is your friend here. Shape the dough into a loaf, turning it and using the board to help you flatten it to create sides. Aim to be a little smaller than the loaf tin you are going to put it in.
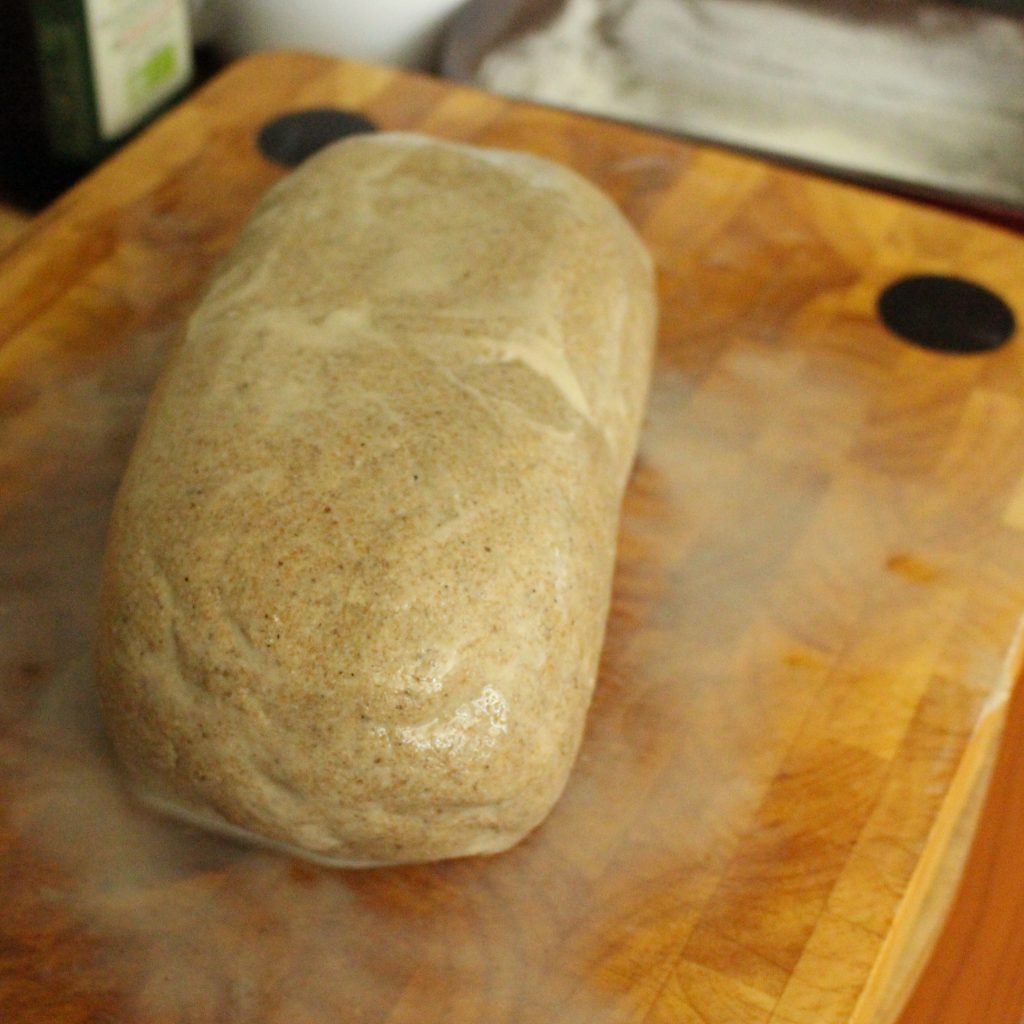
Once you are happy with the shape, drop the loaf into the tin.
Cover the tin. If you have a bowl big enough, you can use this. If not, I have found the best solution to be to lightly grease the top of the loaf with olive oil and then cover it with a strip of clingfilm.
Leave this loaf to ferment further. You want to visibly see it increase in size by around 10-15%. With an ambient temperature of 22C/72F to 27C/81F, I usually find it ready after an hour to an hour and a half.
Cook the loaf:
Preheat your oven to 230C/450F convection.
Brush the top of the loaf lightly with water.
Cover your loaf. If your tin doesn’t have a lid, you can do this by making an aluminium foil ‘tent’ over it. Try to make sure the foil isn’t touching the loaf.
Cook the covered loaf for 10 minutes, then turn the oven down to 200C/390F.
After 45 minutes total, remove the lid or aluminium foil. Turn the oven down to 190C/375F.
Cook until the internal temperature is on or around 98C/208F. This is usually a total of an hour and a half.
Leave the bread to cool completely.
From here, it’s yours, but I promise you it’s taste will improve over the next 1-5 days. It’s a great bread, but it’ll be even more amazing if you can leave it a day or more before you cut it. I am aware that you’ve got to have some serious delayed-gratification powers (or some other gorgeous bread on hand!) to be able to do that!
Sharing it:
I want to see and hear about your process: your ingredients, how you got on with baking, the finished bread, how you eat it and who you share it with. I’ll be posting pictures on Instagram @ancestral_kitchen and on my blog. If you’re on instagram, post using the hashtag #ancestralcookup and tag me (@ancestral_kitchen). If you don’t have instagram, please do comment at the bottom of my blog post – you can upload your pictures there too.
If you want to give it a go, I thank you. I’ve been looking for a community of cooks for a while. If you help make it more than just me in my kitchen, you’re guaranteed to make me smile!

Bring ancient grain baking into your kitchen!
Download my free 30-page guide with five healthy and tasty 100% ancient grains recipes.