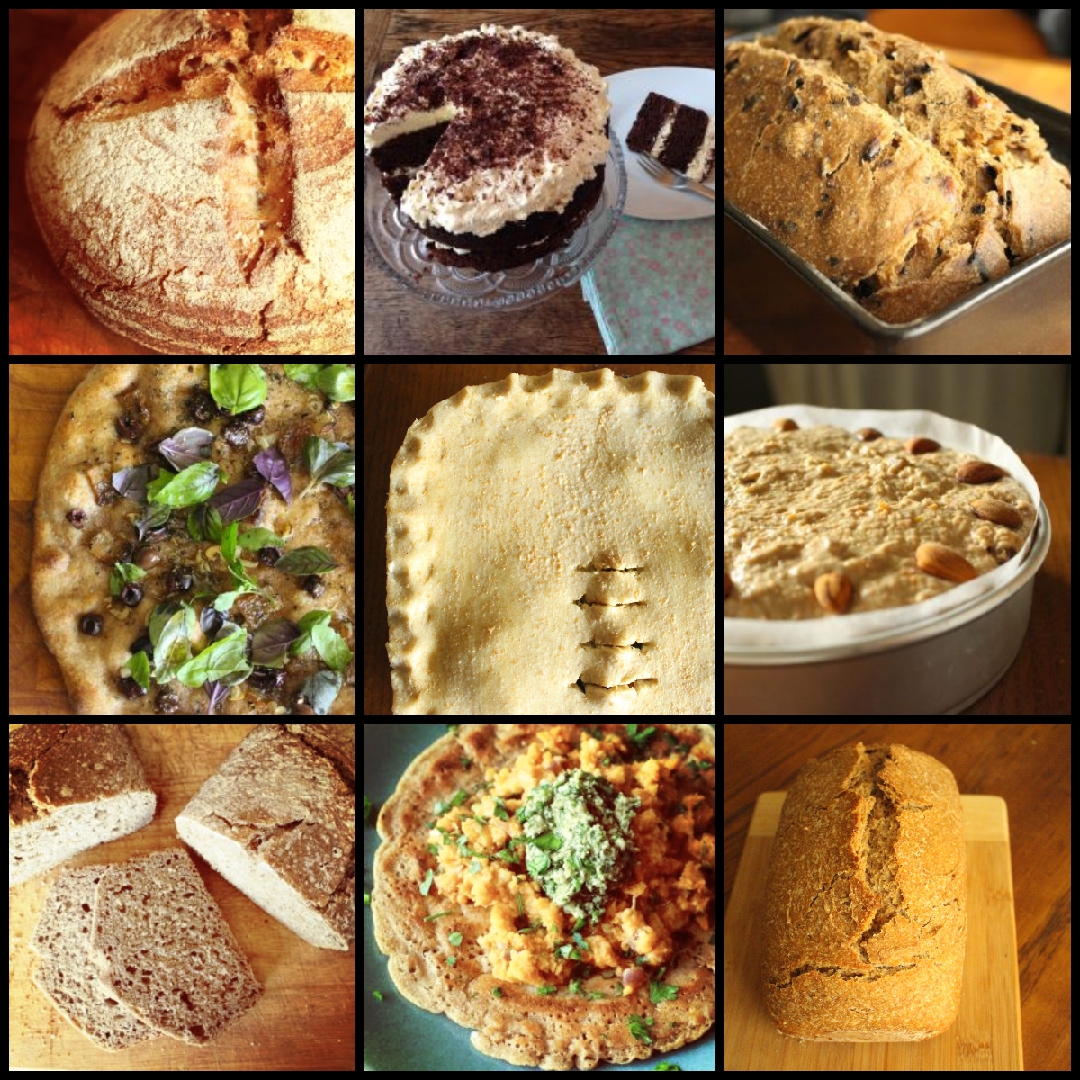
Want to bring sourdough spelt breads, pancakes, pizzas and cakes to life in your kitchen? My new book, Sourdough Spelt Everyday will help you do just that. I’ve been baking with spelt for a decade and LOVE it’s versatility and … Read More
I have baked bread and pizza in ceramic, non-stick and glass bakers as well as using casserole dishes and Dutch ovens. Here are my current favourite ways to bake: Emile Henry Loaf Baker This ceramic baker gives the most amazing … Read More
This post contains affiliate links, which means that if you click on one of the links and make a purchase, I may receive a small commission. This commission comes at no additional cost to you and helps me to continue … Read More
This is a clip from my course Rye Sourdough Bread: Mastering The Basics which explains the (massive) difference between baking with wheat and baking with rye If you’d like me to be your guide in bringing 100% wholegrain rye sourdough … Read More
“How do I use different ancient grains in making sourdough bread?” “How do they behave differently from wheat?” “How do I freeze and store dough or finished bread?” “And why do all those loaves on Instagram look like THAT, and mine looks like THIS?” All these questions and many more crop up when we discuss sourdough bread.… Read More
Eating gluten-free (or lectin-free) doesn’t mean you have to go without sourdough bread. It’s simple to create and maintain a gluten-free sourdough starter and use that to make your own gluten-free (and lectin-free) sourdough bread – I’ve been doing it … Read More
Download the drawing here. To access my free video course, 10 Tips For Creating & Maintaining A Sourdough Starter (over at The Fermentation School) click here
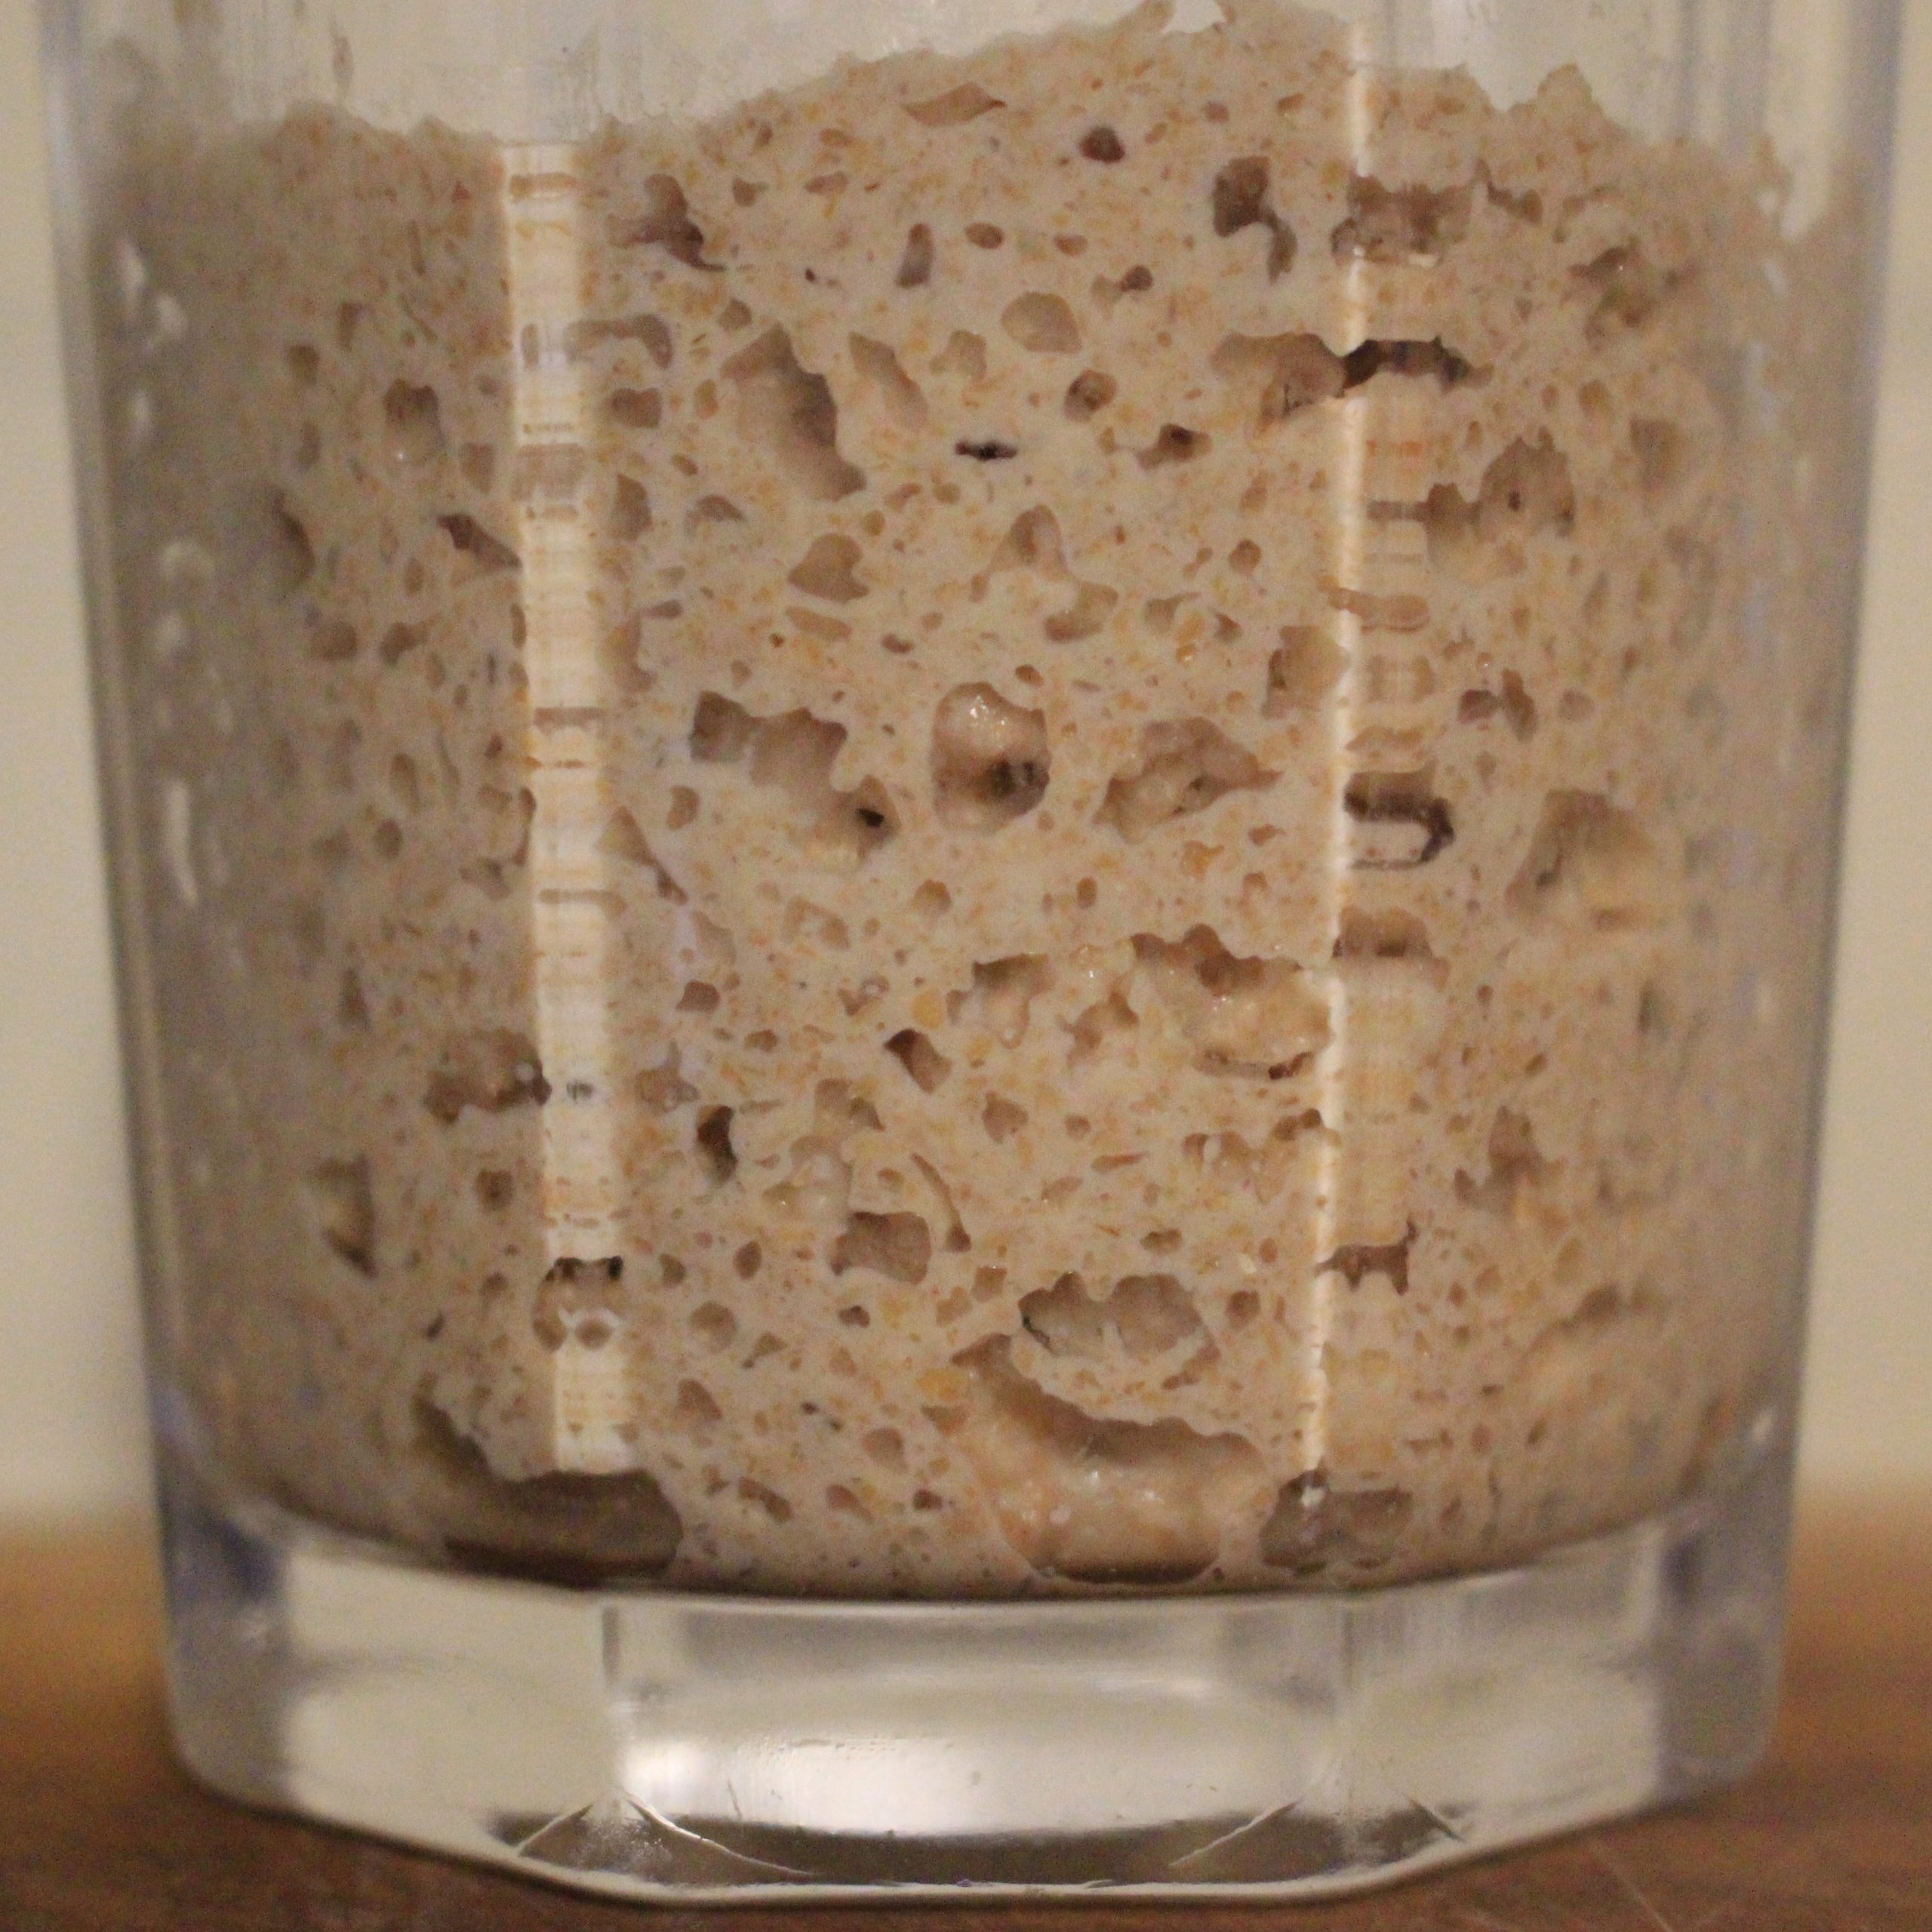
Very often the thing that stumps us as home sourdough bakers, in our quest to make brilliant bread, is our ambient temperature. The bacteria harnessed in sourdough breads and starters work well at warm temperatures and if we keep our living space cool, we”ll often struggle.
I have previously written an article How To Keep Your Sourdough Starter Warm which gives lots of ideas as to how to cosset a starter. Sometimes, despite trying all the easier methods (like an airing cupboard or a warm water bath) you aren’t able to get the results you need. This is where a proofing box can be heaven-sent. As well as giving you stable warmth to make creating a starter easier, it can also help you be in charge of your baking schedule – making sure you don’t have to get up at 3am because your dough is ready for the oven!
You can buy professional proofing boxes, but they are expensive and take up extra room in your kitchen. It is relatively easy to make your own, DIY, proofing box.
The simplest, non-thermostat, type is described in my earlier article linked above. They are of some help, but I have found a temperature-controlled set-up to be far more useful. And it’s not difficult, once you understand the electronics. I am a home-cook, and know next-to-nothing about electronics, but I’ve managed to get a grip on the ‘how’. I will describe it here in the simplest non-electrician language that I can. Please accept my apologies if you know what I’m talking about already. Please linger if you don’t – it’ll be worth it!
Here’s how to make a DIY proofing box with temperature control, to help you with achieving and maintaining a desired temperature whilst you are creating a sourdough starter or proofing sourdough bread dough.
The bits you’ll need:
A small insulated space
An AC/DC transformer
A heating element
A thermostatic controller (this has two parts, a controller and a probe)
A power cord and a plug, plus some DC cabling and connectors
Considerations/Options for the above:
Small insulated space
Options for this include a polystyrene box, or something along these lines constructed with foam packaging, a microwave (please be careful – these are not safe to dismantle), a toaster oven or even a standard oven. It need not still be working, but it does need to shut reasonably well.
AC/DC transformer
The AC/DC transformer you choose must convert to the DC appropriate to the thermostat and heating element you have chosen. Generally speaking in Europe this is going to mean 220 Volts AC to 12 Volts DC.
Heating element
This needs to be an appropriate output for the insulated space you want to heat. A 40 or 50-Watt heating element will be good for an average size microwave-sized space during northern-hemisphere spring and autumn temperatures. Increase the size of the space, or lower your ambient temperature and you’ll probably need a more powerful element.
Thermostatic controller
This is an LCD display showing the temperature inside your proofing box and allowing you to set it to what you desire. The controller then switches the heating element on and off automatically in order to maintain that temperature. The best way to explain how to choose a thermostatic controller is by showing an example of the components we used.
An example of the components we used:
Our heating element’s power rating is 48 Watts and it runs on a 12 Volt power supply. Our thermostatic controller runs on a 12 Volt power supply and can work using a current of up to 10 Amps. Also our transformer can supply up to 10 Amps at 12 Volts.
The formula:
Here it is in plain English so you can just match the numbers up and do the sums.
Power (Watts) = Current (Amps) * Potential (Volts)
For our heating element:
Potential (Volts) = 12 Volts
Power (Watts) = 48 Watts
Therefore, substituting the values we have into the equation:
48 = Current (Amps) * 12
Current (Amps) = 48 / 12 = 4 Amps
Since our thermostatic controller can handle up to 10 Amps we are safe! And our transformer can supply up to 10 Amps also so that’s sufficient. These are the figures you’ll need to look at on the component specifications – then insert them into the equation above.
Click on the picture to listen to a podcast episode dedicated to the sourdough questions I receive!
So what should I do?
Choose a heating element with an appropriate power rating as described above.
Choose an AC/DC transformer with an appropriate input voltage for your geographical region and an appropriate output volage for your heating element.
Choose a thermostatic controller with the same operating voltage as the first two components and then put the power rating in Watts plus the operating voltage of the heating element into the equation above. Provided the optimum current (Amps) of the heating element does not exceed the maximum current of the thermostatic controller or the AC/DC transformer then you are all set!
Build it – there is an example of the circuit and a picture of our set up below. It is helpful to use DC cabling and connectors between components to avoid things short-circuiting.
Here’s a diagram of the circuit:
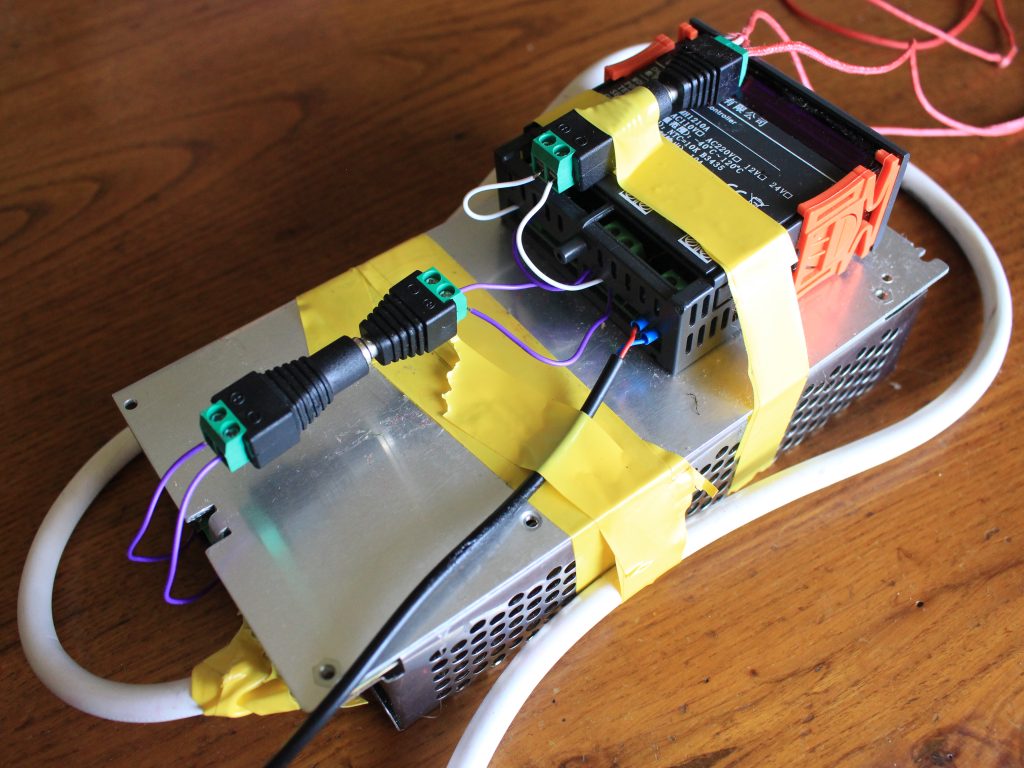
Here’s what our set up looks like:
Here are the parts we used, from Amazon – the products may not be available from the same sellers in your part of the world (or may not be available any more in these listings), but you can use the specifications here to familiarise yourself with what you need.
1/ The power supply has two sets of outputs and we’re currently using a large oven as our proofing space! Therefore in winter I have set one of the power supply outputs permanently to power a 50W heater and the other to power the thermostatic controller which powers another heater. The first heater (on all the time) can usually keep the oven in the low 20s degrees C while the second tops it up to whatever we set it to (ie 25C or 28C).
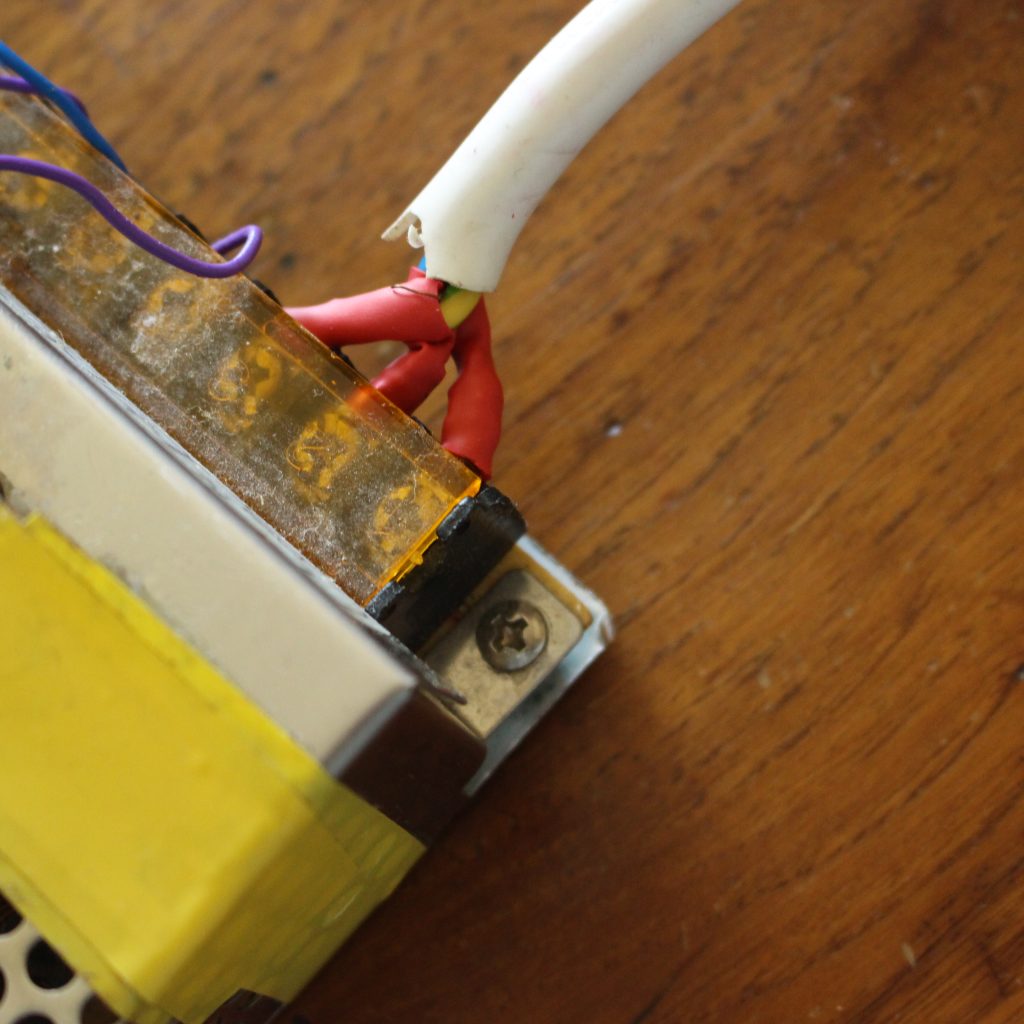
2/ Heat-shrinkable plastic tubes are available – they protect the joins between cables and components much better than electrical tape does. Here’s a photo of these being used on our set up:
Very often the thing that stumps us as home sourdough bakers, in our quest to make brilliant bread, is our ambient temperature. The bacteria harnessed in sourdough breads and starters work well at warm temperatures and if we keep our … Read More
There are a lot of articles out there telling you how to create a sourdough starter. Despite this, as a sourdough baker, the most questions I get asked are about sourdough starters. I’ve birthed a lot of starters over my … Read More
There is a lot of equipment out there aimed at the at-home sourdough baker. In my experience, most of it is non-essential and will just fill up your cupboards. There are however, a few things that really will help you … Read More