I love millet! It’s a tasty, economical, gluten-free and ecologically-sustainable grain which is a wonderful addition to any kitchen.
Since having recorded a podcast episode dedicated to this wonderful grain, I’ve been wanting to try my hand at making millet gnocchi.
This recipe is based on one from the Italian magazine Naturalmente Gluten-Free, and was passed to me by a podcast patron. We cooked it together, making a few changes along the way.
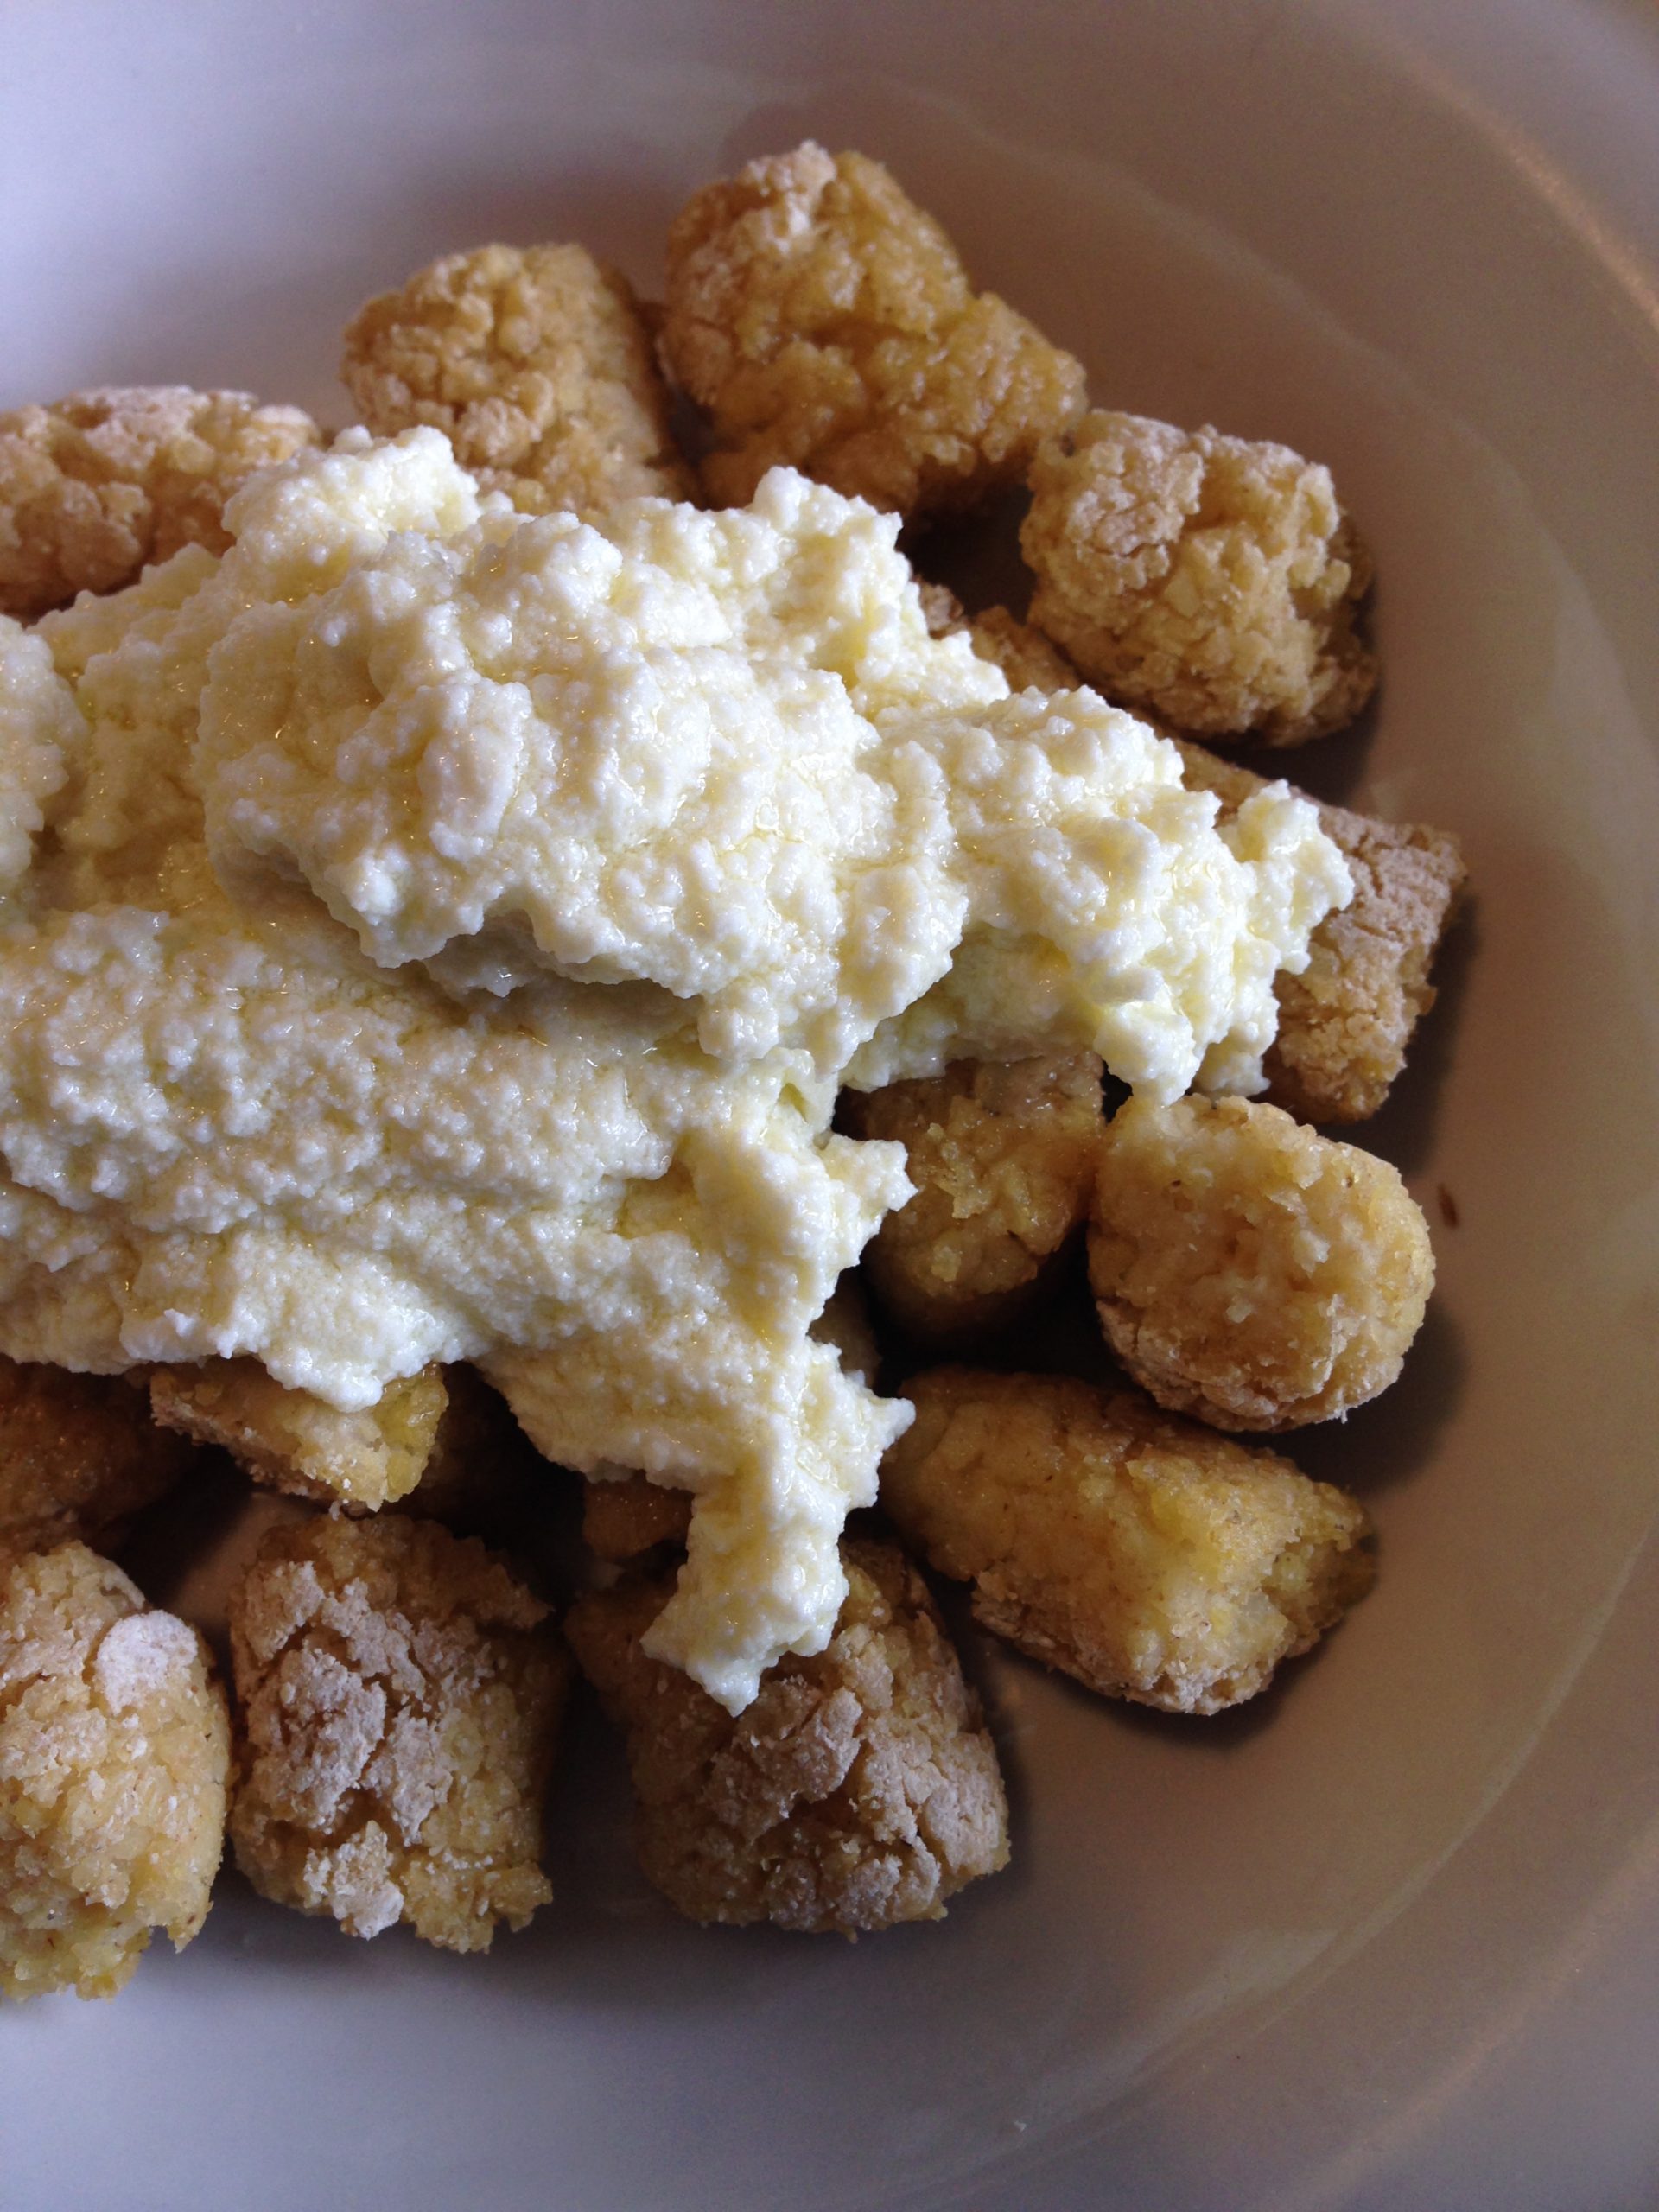
Most gnocchi contains eggs; this one is egg-free, making it suitable for those who don’t eat them (this is part of the reason I wanted to make it – my son can’t eat eggs). It is also great for those who are gluten-free.
You will need white pearl millet (the standard millet sold in the US, Europe and Australia) plus a flour to help bind the dough. Here I’ve used oat flour (which can be made by pulsing rolled oats in a coffee grinder). The adhesive qualities of the oat grain come in handy for this dough but you need not use oat flour – the original recipe actually suggests using rice flour.
Gnocchi is usually boiled. Here I’ll talk you through how to prepare this way but also offer an alternative oven-baking method.
I love to eat this gnocchi plain, with olive oil; with a herbed tomato sauce; with sage and melted butter or with ricotta.
Millet Gnocchi (Egg and Gluten-Free)
Serves 4
200g millet (almost 1 cup)
600g water (2 1/2 cups)
1/2 tsp salt
c. 50g (1/2 cup) oat flour (or any other flour), sufficient to help bind the millet into a dough
Making the dough
- Put the millet, water and salt into a large saucepan. Cover with a lid and bring to the boil.
- Turn the heat down to medium-low and cook until all the water has almost been taken up. The time needed to do this will depend on the thirstiness of your millet and the heat applied. Expect it to take somewhere around 20 to, possibly, 30 minutes.
- Turn off the heat and leave the millet, covered, for 30 minutes to cool a little and soak up any remaining water.
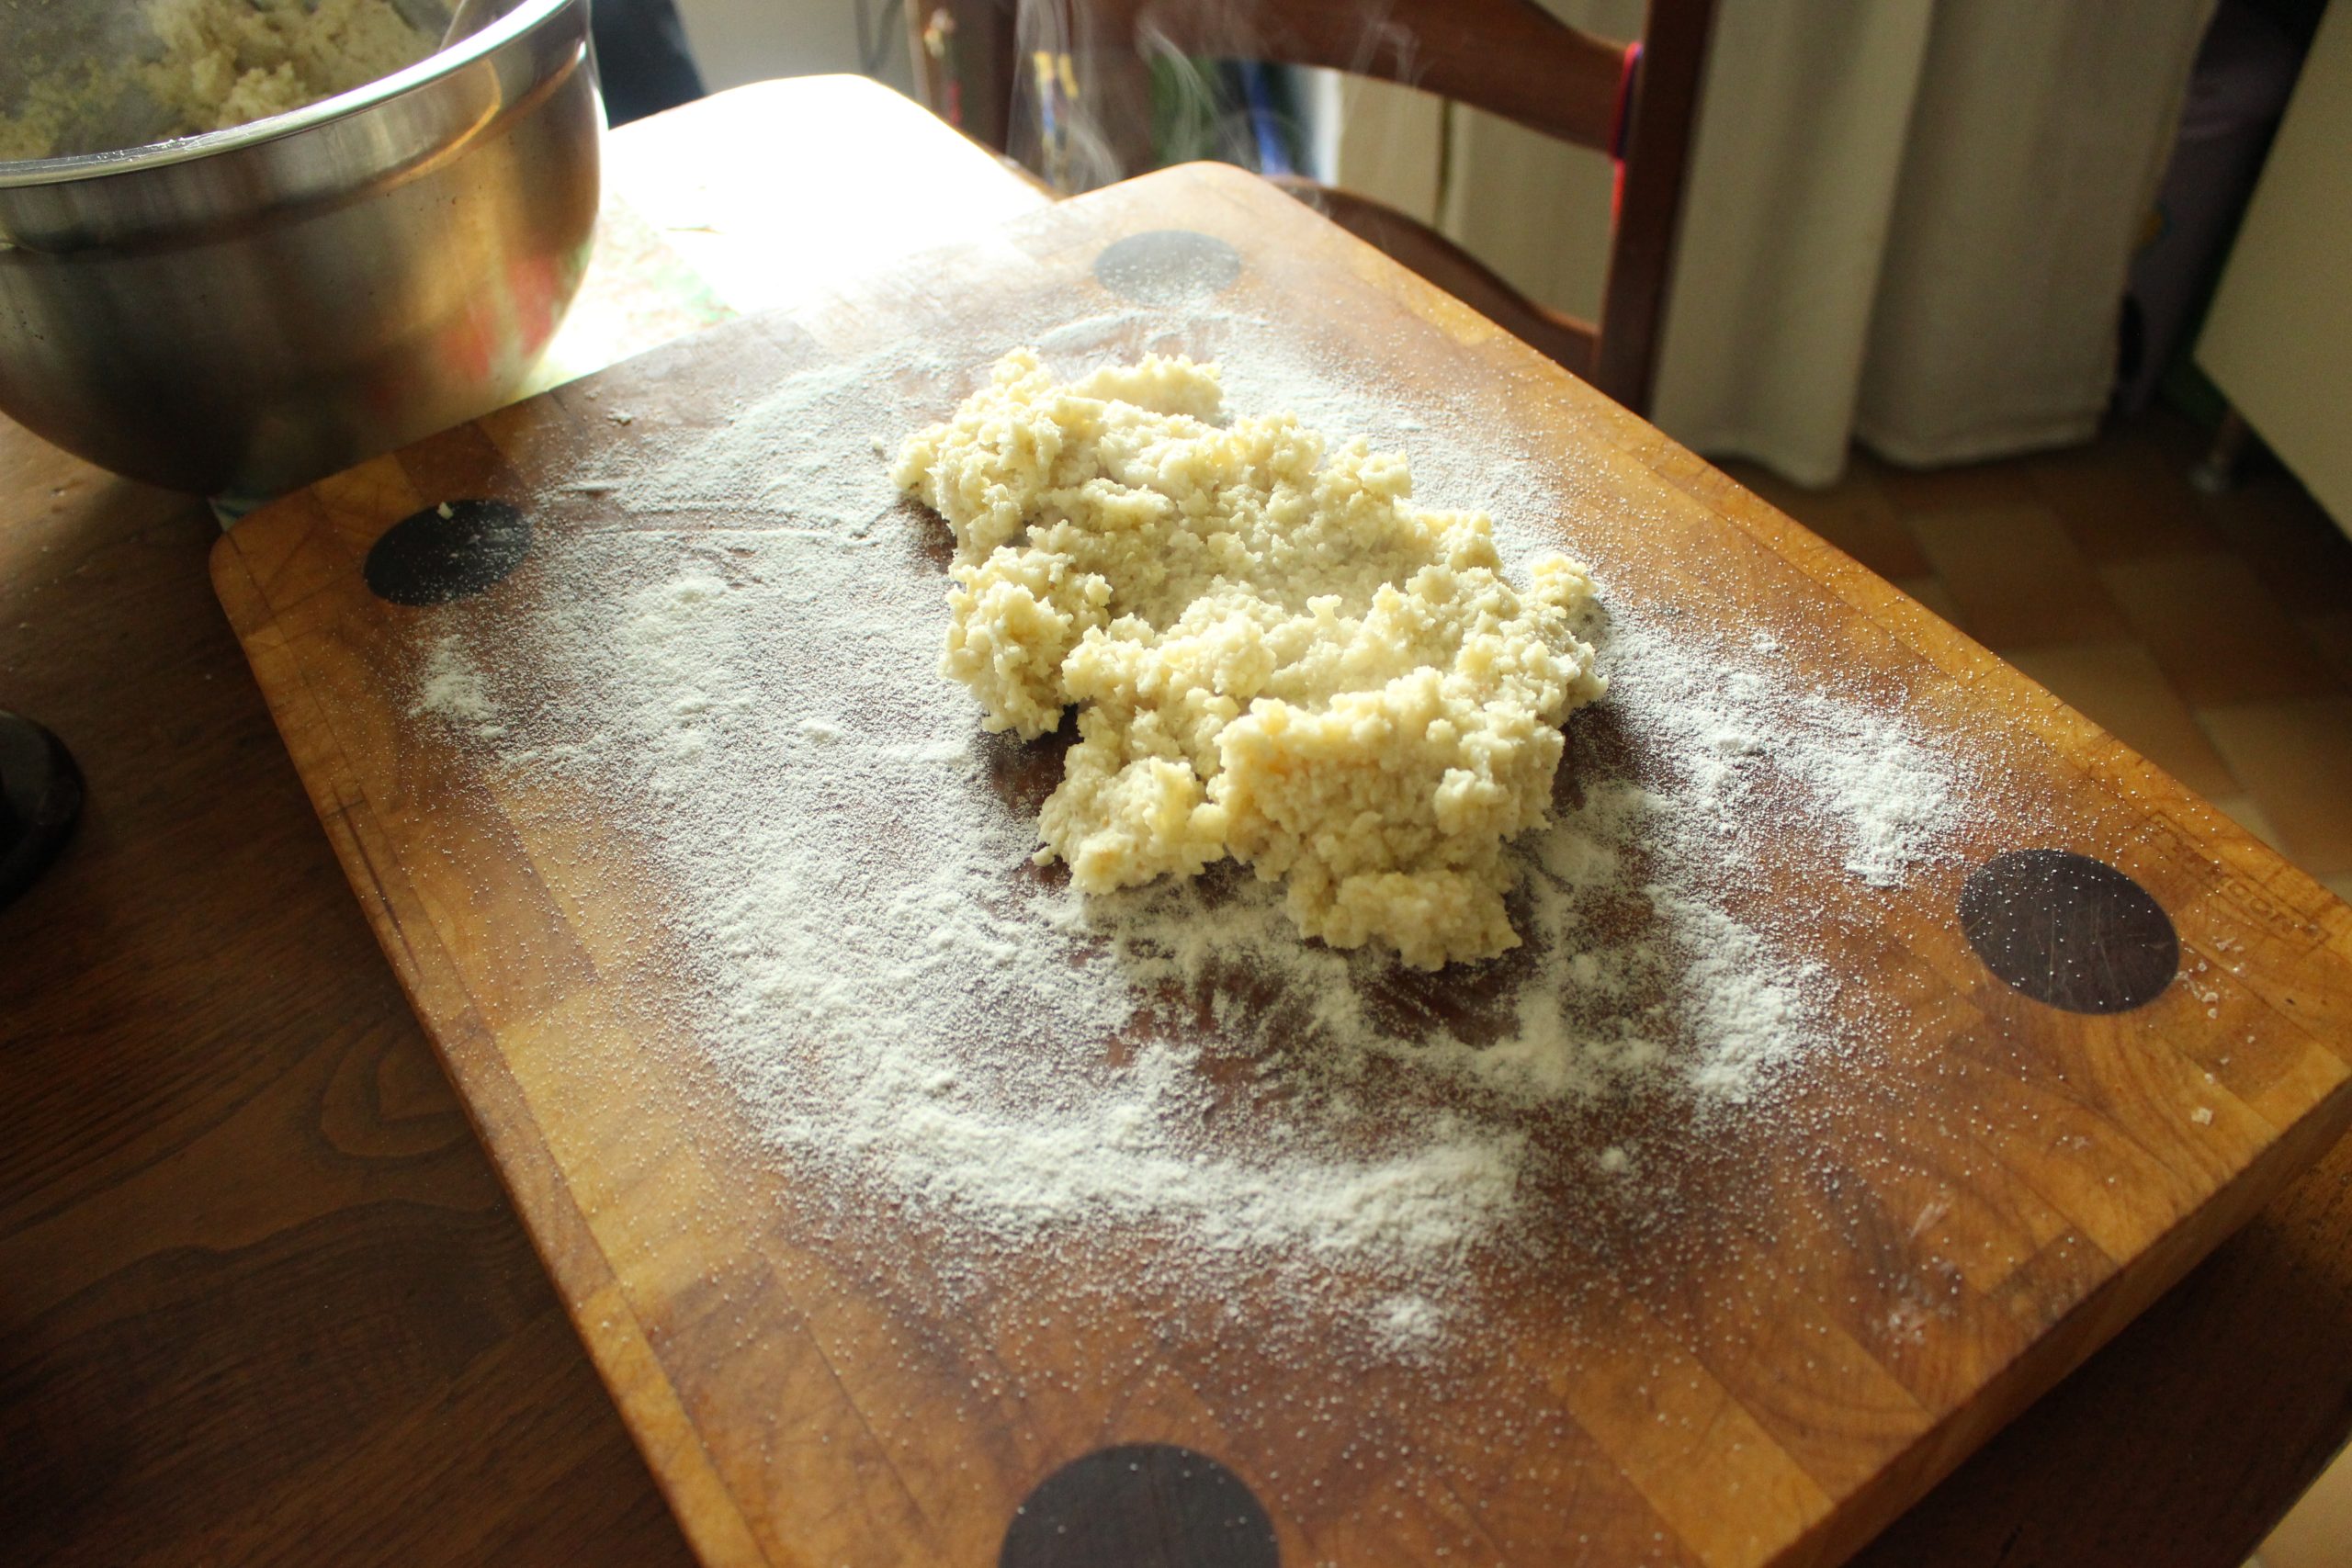
- Leaving the cooked millet in the saucepan, add sufficient oat flour (or other flour) and stir well, combining to make a dough that is soft and holds together but is not too sticky.
Preparing the gnocchi
- Prepare your work-space by flouring it well.
- Take roughly 1/4 of the millet dough and transfer it to your floured surface.
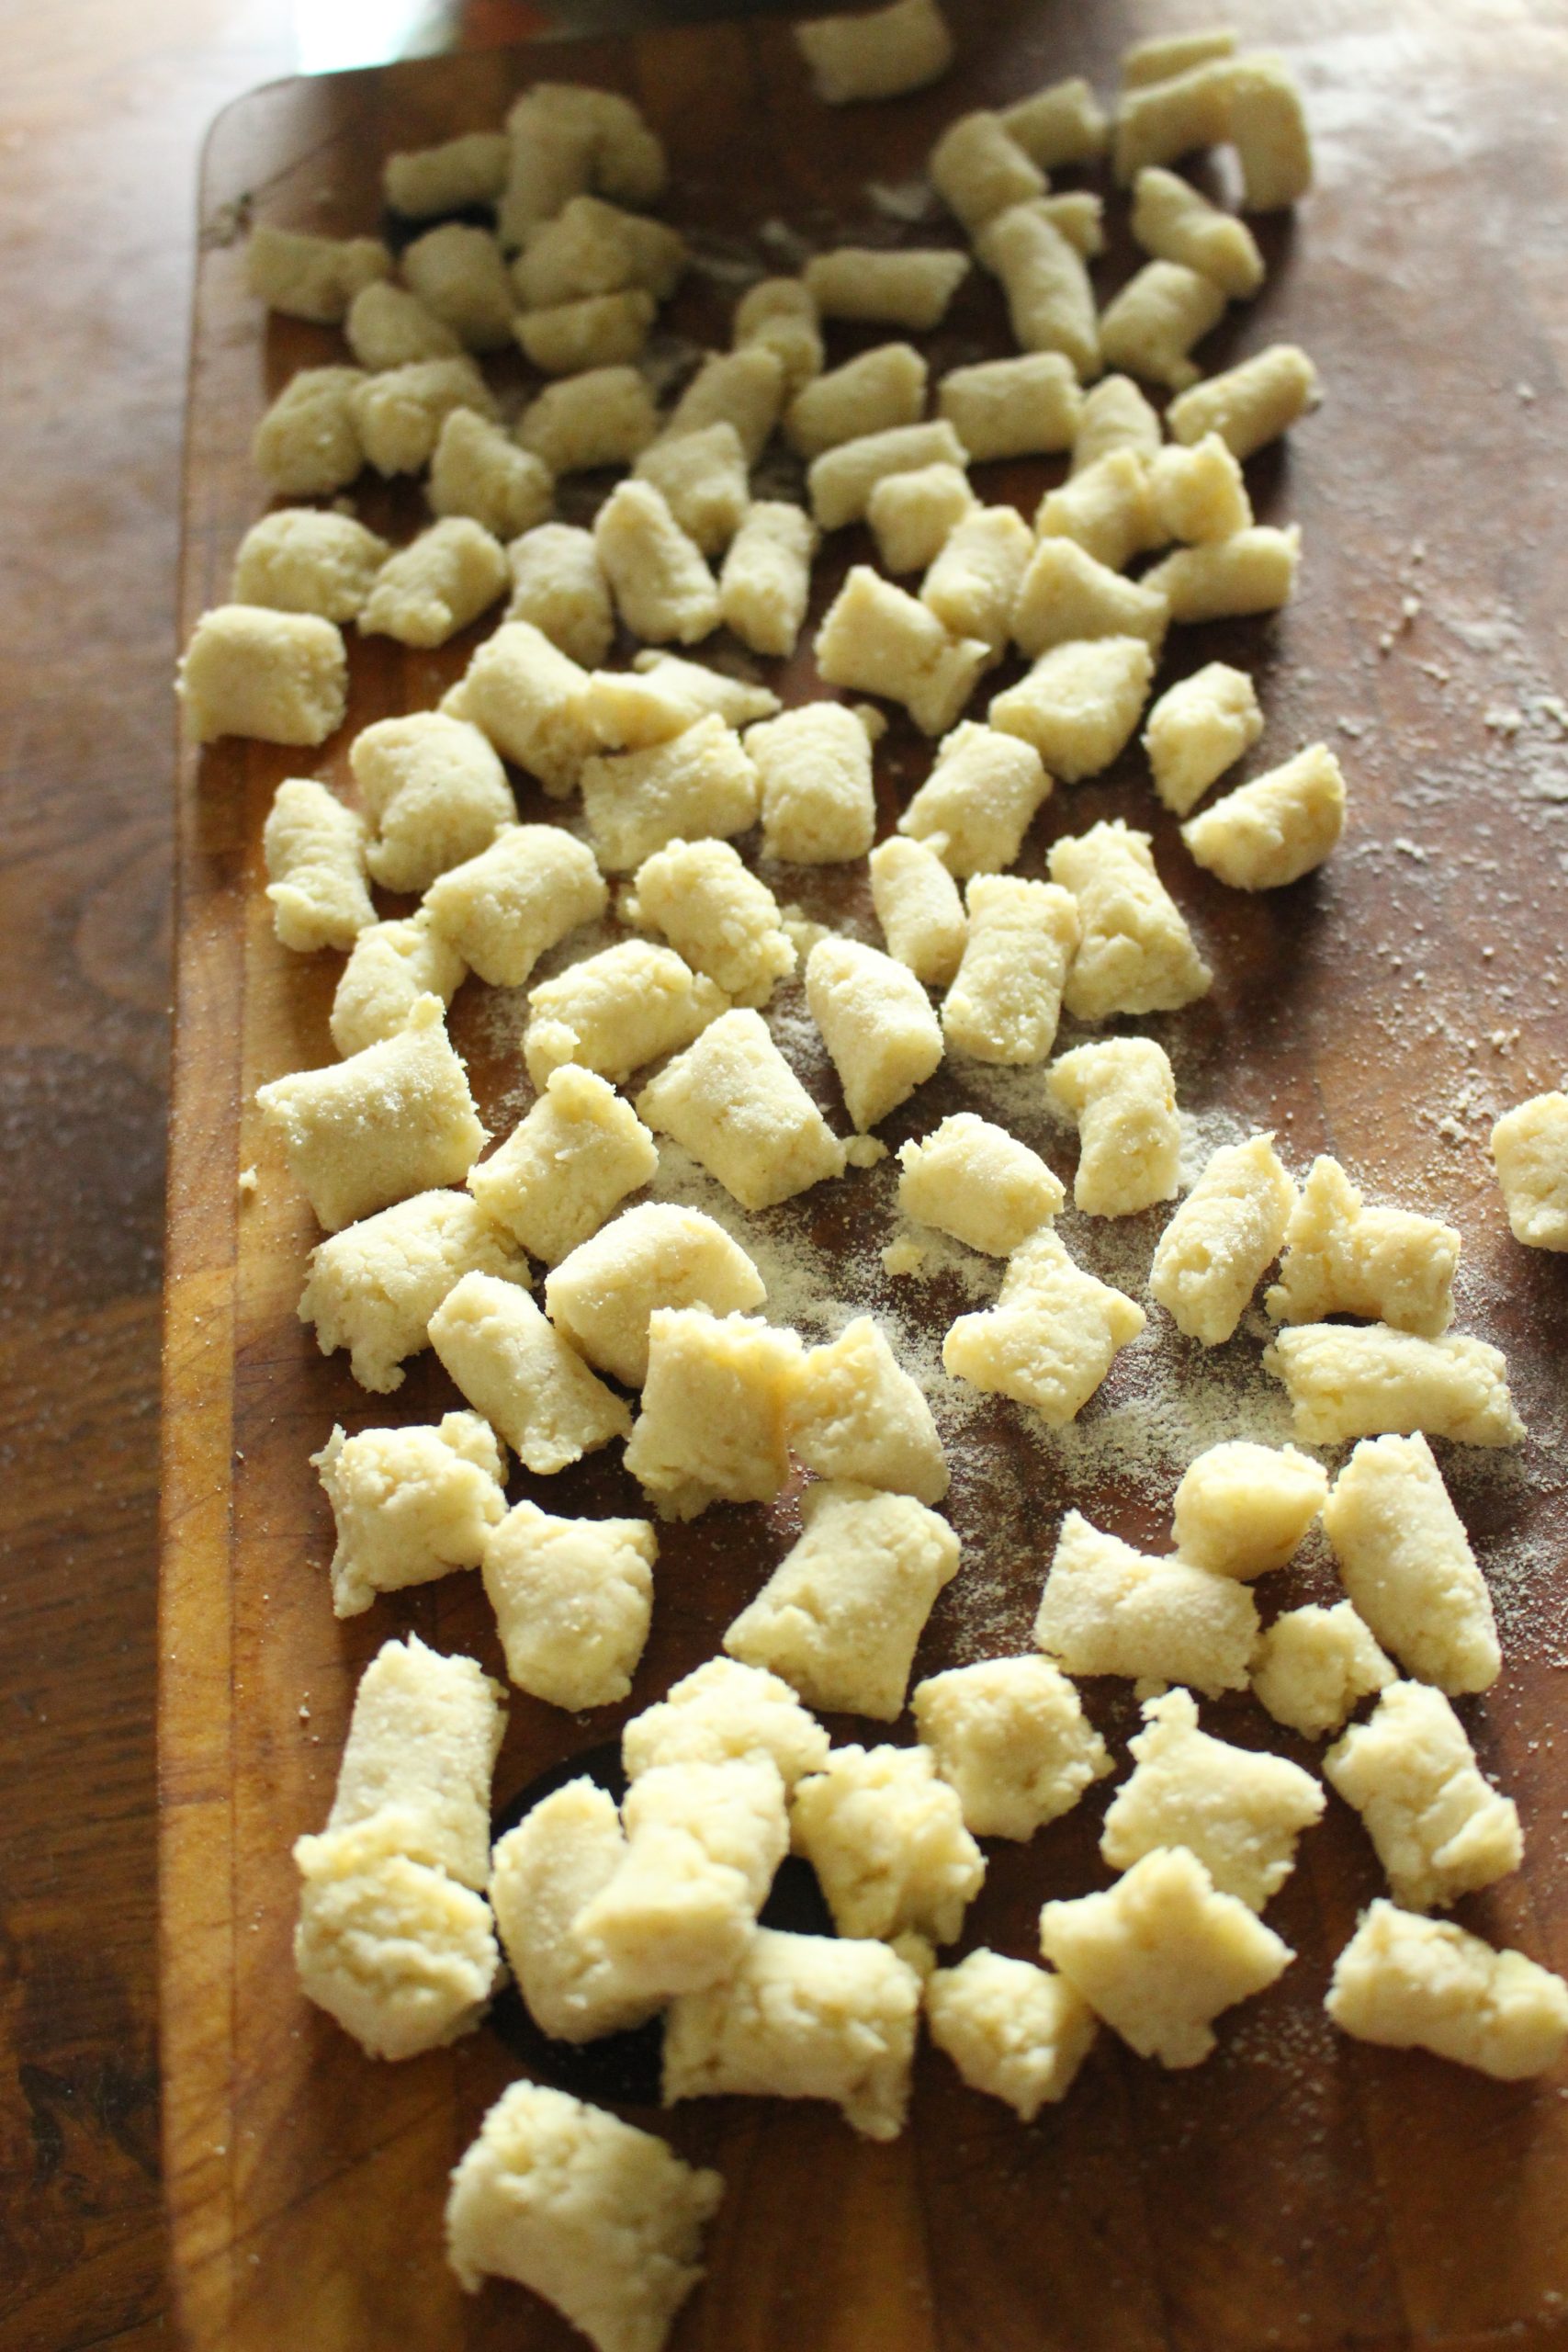
- Working swiftly (it’s easier to shape the dough whilst it’s still warm) with your hands, roll the dough into a thick sausage shape and then, using the palms of your hands, continue to roll this out into a long thin sausage with a 1-1.5cm diameter. It doesn’t matter if the dough breaks as you will be cutting it into small sections.
- Cut this into 2cm-long pieces.
- Repeat this process three more times to use up all the millet dough.
Cooking the gnocchi
Gnocchi is traditionally boiled. You can boil these millet gnocchi or, if you prefer, you can put them in the oven. Having done it both ways, I now find ovening them simpler and less time-consuming.
To boil the gnocchi:
When boiled, the gnocchi must be cooked just a few at a time. This is really important. (In impatience, I have sometimes put too many in the pan in one go only to have them disintegrate). If you want to serve them or hot, you will need to have a way to keep the early-cooked ones warm. An easy way to do this is to prepare your sauce alongside the boiling and then transfer the cooked gnocchi into the pan with this sauce to keep warm whilst you continue to cook the remaining pieces.
- Bring a large saucepan of salted water to the boil.
- Drop the gnocchi in a few at a time.
- After a minute or so they will rise to the top. Cook them for a further minute and then fish them out with a slotted spoon, transferring them to your serving dish or to the pan that holds your sauce.
- Continue to do this until the gnocchi are cooked.
To oven the gnocchi:
- Preheat your oven to 180°C (355°F).
- Lay the gnocchi, separated, on a baking tray and cook for around 20 minutes.
If you make too many, these gnocchi can be reheated in a warm oven or by gently frying. You can also freeze the un-cooked dough and complete the final cooking stage later.
Bring ancient grain baking into your kitchen!
Download my free 30-page guide with five healthy and tasty 100% ancient grains recipes.
