

It’s not easy creating a sourdough starter. In fact, I think it’s the hardest thing about baking sourdough bread. Especially if it’s your first time.
Sometimes, you follow the instructions meticulously, yet it doesn’t work. In my experience, this is can often be due to the ambient temperature in your house. Those of us who keep our living spaces quite cool will often struggle to find the warmth a sourdough starter needs.
Why does a sourdough starter need warmth?
By creating a sourdough starter, you are nurturing a colony of bacteria. Those bacteria have an ideal temperature to thrive in – that’s between 20 and 24 Centrigrade, 70 and 75 Farenheit. The closer you can keep your sourdough starter to this temperature, the quicker and easier building it up will be.
So what if my house isn’t that warm?
If you keep your house cool, or don’t have a spot in your home that is consistently 20-24C/70-75F, there are things you can do to help your sourdough starter along.
Here are some suggestions, ranked in order of easiest to most complex:
Before we get started on the suggestions know that having a thermometer really helps in this process because it takes away the guess work. A digital thermometer with a probe is ideal as you can insert it in your starter and check its internal temperature. If you are planning on baking bread regularly, a thermometer like this will become a very close friend, so it’s worth investing in one at this stage.
The ‘use warm water’ method
All of the techniques below are enhanced by refreshing your starter with warm, not cold, water. Don’t go above 40C/100F – you might kill off some of the bacteria you are trying to encourage.
The ‘warmest place in the house’ method
Do you have an airing cupboard, a spot by the hot water tank, a high shelf in a small room, a cupboard with a light directly underneath? Look at and feel places around your house. Seek out a place that might be warm and cosy for your starter.
The ‘sunny windowsill’ method
If you are at home and have windows that are graced by the sun, there is the option of moving the starter around during the day so that it catches the sun. Check its internal temperature with your thermometer to help you gauge your placement.
The ‘insulate it’ method
You can wrap your jar in jumpers and scarves!
The ‘warm bath’ method
This can be as simple as placing the glass jar with your starter into a bowl of warm water, right through to putting your starter in a zip lock bag and placing it inside a thermos flask filled with warm water or a cool box with a jar of warm water inside. Pay attention to not allowing your starter to overheat, remember the ideal temperature is 20-24C/70-75F.
The ‘light in your cooker’ method
Most ovens have a light, many of which can be turned on without having to put the heat on. This light creates ambient heat, which, with the door shut, will warm up the space. You can place your starter inside this light-filled oven to maintain its temperature. You can also put the oven on its minimum heat setting for a couple of minutes to boost the internal temperature. If you do this, set a timer so that you remember to turn it off (you can tell I’ve forgotten before, can’t you?!)
The ‘DIY proofing box’ method
You can buy special proofing boxes that maintain a warm temperature for starters and breads. Wanting one but knowing they were expensive, I mentioned them to my husband. He told me we could probably make one at home for a fraction of the cost. This DIY proofer can be a really simple set up of box and light bulb, right through to a thermostatically-controlled temperature-regulating space.
Here’s how:
The simple proofer: This requires two things:
1 – an insulated space, such as a small oven, a slow cooker, a microwave or even a polystyrene box
2 – a light bulb
The light bulb gives off heat which the insulated space captures and holds. If your space is large an incandescent light bulb is better (they give off more heat), if it’s small an LED might suffice. Wire the light bulb into a suitable power supply, then run it into the insulated space through a small gap in the door seal or any other small hole. Close the lid and you have a heated space.
The downsides of this are you have no way of reading the temperature, other than putting a thermometer in it, and no way of regulating the temperature, other than partially opening the lid or turning the light bulb on and off manually.
The thermostat-controlled proofer: This requires:
1 – an insulated space as for the simple proofer above
2 – an incandescent light bulb or heating element
3 – a thermostat with temperature probe
We’ve built two portable versions of this set up in my kitchen. Here’s my article on how to build a DIY proofing box.
If you’ve struggled to create a sourdough starter in the past, don’t give up. Revisit the timings, measurements and techniques to make sure you’ve got them right and then turn your attention to temperature using my ideas above. It will make a difference. You will have a starter. You will eat sourdough bread 🙂
If you have tried any of these and want to share your experience, or you have other methods that have worked, feel free to comment below and let me know.
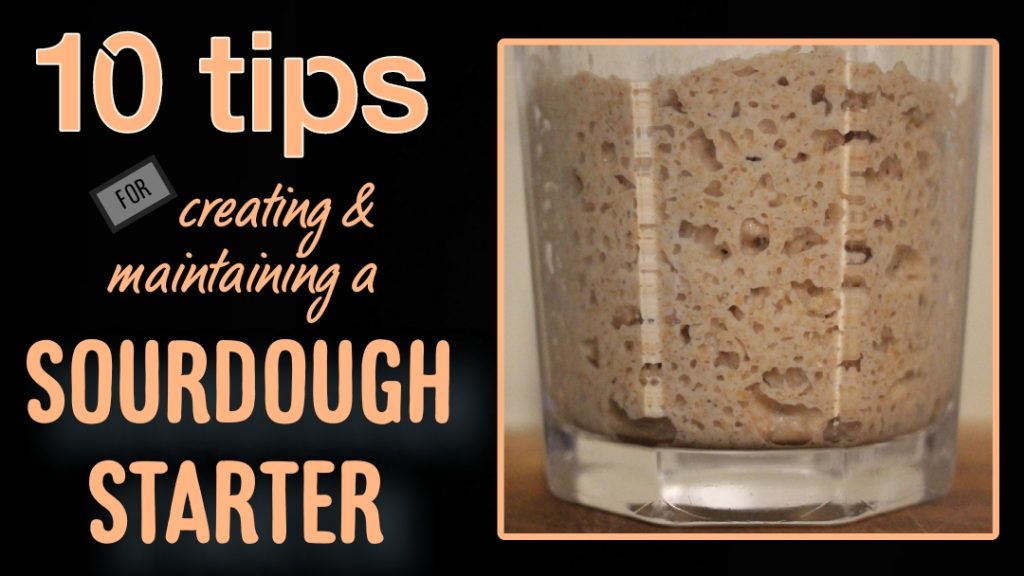
For my $5 video course, 10 Tips For Creating & Maintaining A Sourdough Starter (hosted over at The Fermentation School) click here.
Bring ancient grain baking into your kitchen!
Download my free 30-page guide with five healthy and tasty 100% ancient grains recipes.
Thank you so much for your advice! They are priceless!
You are welcome, Tatiana!
Thank you I live in a very old Doublewide built in 1979 and it always feels so cold. Even when I have a thermostat it says it’s 72, so I always thought it was too cool in here. In Oklahoma in cold weather I feel like it’s freezing all the time, but of course, I moved from the gulf coast, and even in cold weather we have more humidity than Oklahoma.
Glad to be of help, Peggy. As you’ve seen, there are lots of options for you!
[…] is not that warm, work on finding a way to keep the starter warm. You can read my article How to Keep Your Sourdough Starter Warm for […]
how about a heating pad set on the lowest setting
Yes, that’d work! I wouldn’t put the starter directly on it though.
Most heating pads shut off automatically after a certain period of time. You can get a seedling sprouter pad with a thermostat and digital display for under $25. The box can be a plastic tote with some salvaged styrofoam insulation.
Any luck with this? I’ve only tried starter once and in day 7 it created a layer of clear liquid. In my pantry, our home states at 72. Now, my son gifted me a starter (1 tbls) from a co., from a batch from 1850. Wld like to do at least 3 successful batches before using that one. Yikes. Wld like to be as home done as I can. No fancy equipment.
Proving box looks like the way to go! Thank you.
Great. It really helps. I wouldn’t be without mine now!