I first learnt about the wonders of malted grains to enhance the flavour of bread when I made Russian bread and since then I’ve been an addict.
What is malt?
Malted grains are any grains that have been germinated and sprouted. This process changes the complex sugars into simple ones – releasing sweetness. Grains are often, after the sprouting, dried and roasted to bring out toasty, biscuity (and sometimes plain burnt!) flavours.
Traditionally, malted grain is used to make beer – it provides the sugar which gives the beer-making yeasts something to eat. But it’s also used in bread to give depth of flavour. Recipes using malted flour mixes or malt extract are reasonably common. This recipe takes it a little further and uses the actual whole malted grain.
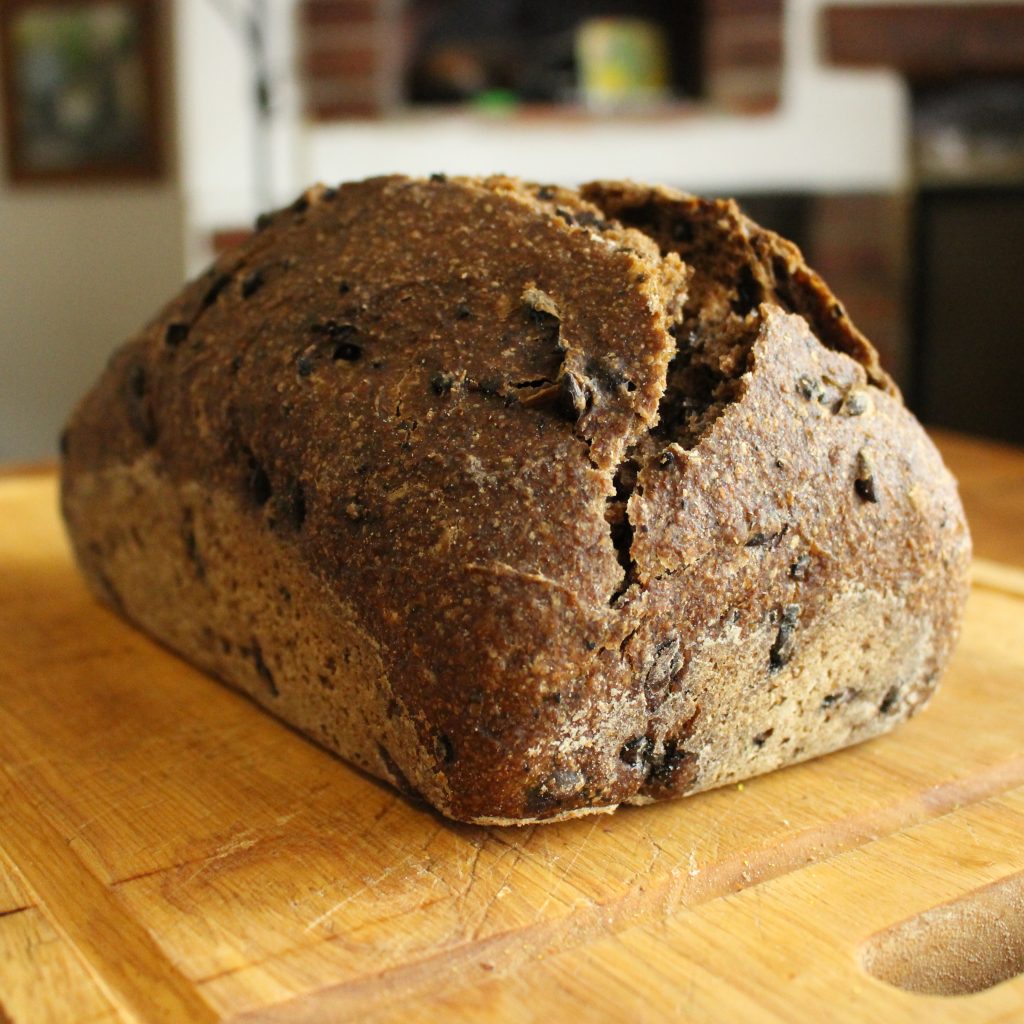
You can buy malt from a brewing supplies company. I use whole chocolate malt for this recipe. The ‘whole’ means uncrushed grain and the ‘chocolate’ means it has been roasted until it is very dark, giving it smoky, chocolatey profile. It isn’t necessary to use this. You could use crushed, or even powdered malt and it needn’t be chocolate. Do be aware that if you opt for a malt that’s light (as opposed to dark) it may not have been roasted and will therefore have enzymes in it that will speed up your fermentation.
Aside from the malt, here are some more basics for the loaf:
You’ll need 90g active sourdough starter. Prepare this the night before you want to bake the loaf, mix the dough in the morning, and then you’ll have a loaf ready to bake by the afternoon.
You will need to soak the barley malt overnight, so prepare that at the same time as the sourdough starter.
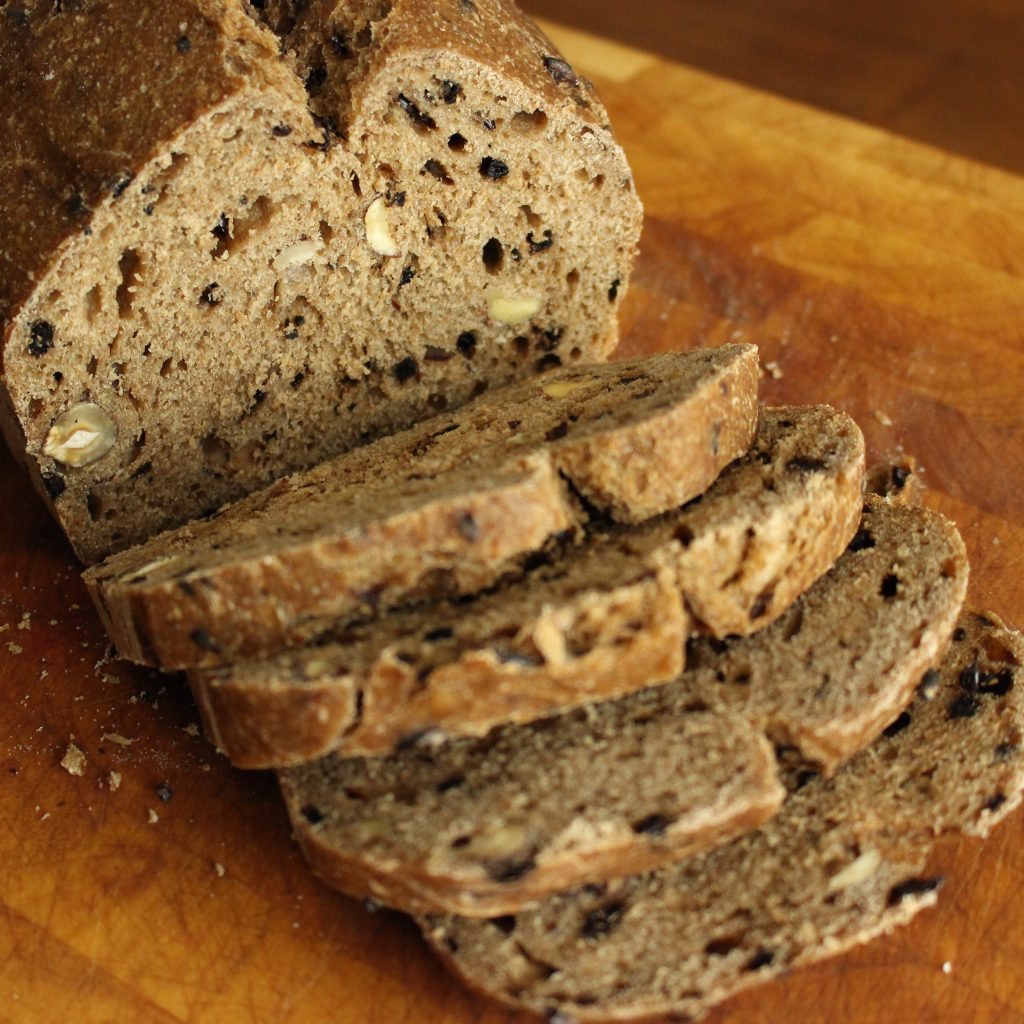
The loaf uses a ‘porridge’ made with sorghum flour. This is to soften and prolong the life of the crumb. I find it especially helpful with spelt sourdoughs. The ‘porridge’ process is as simple as heating flour and water on your stove – I’ll talk you through it. You do not need to use sorghum flour – if you can’t get it, you can use spelt.
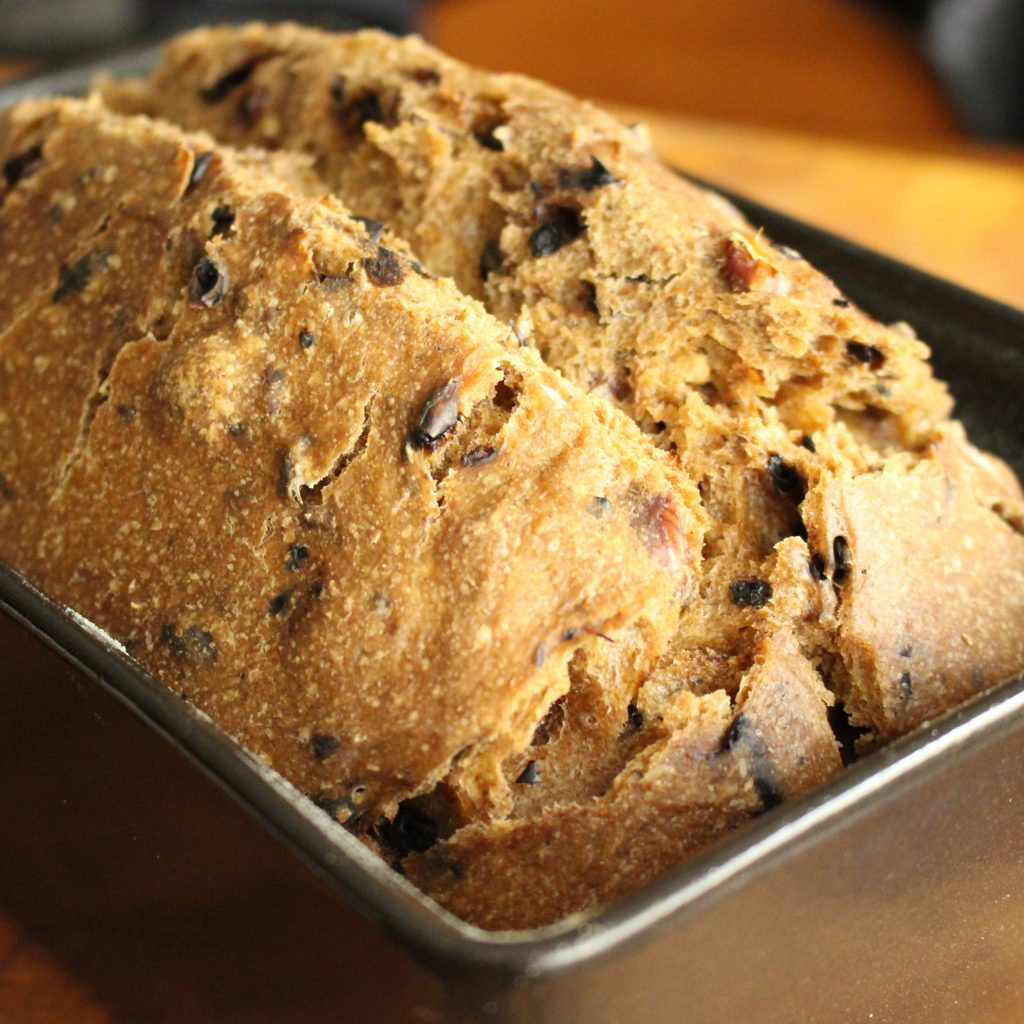
Although you can bake this loaf as a boule, it’s easier with a lidded (or tented with foil) loaf tin, which should have a capacity of 1kg. I most often cook this loaf in an Emile Henry ceramic loaf pan.
A probe or laser thermometer is very useful to help you know when the loaf is fully baked.
Ingredients:
For the ‘porridge’:
48g sorghum (or alternative, as explained above) flour
192g water
For the main dough:
All of the above ‘porridge’
50g chocolate barley malt, whole (or another type of barley malt, see my suggestions above)
90g wholegrain spelt or rye starter
250g wholegrain spelt flour
250g white spelt flour
11g salt
45g hazlenuts
c190g water
Instructions:
The night before:
Prepare your starter. To do this, I mix 45g wholegrain rye flour, 32g water and 13.5g starter in a glass jar and then leave in a warm place overnight. You may need to adjust my measurements to suit your own starter and environment.
Soak the barley malt in 50g water.
The day of the bread:
Making the porridge:
Put the sorghum (or alternative) flour into a small saucepan and add the water. With the heat on medium-high, stir constantly until the mixture thickens into a stiff paste. Turn the heat down to low and stir for a further 2/3 minutes. Turn the heat off and allow to cool to below 41C/105F before proceeding.
Mixing the dough:
Drain the malt, discarding any excess liquid.
Chop the hazelnuts into halves.
Mix the flours and salt together in a large bowl. Add the peaking or just-peaked starter, the drained malt, the chopped hazelnuts, the cooled ‘porridge’ and the water.
Mix the dough well until you can’t see any more flour. Once you’ve finished scrape the remaining dough off your hands using a spatula.
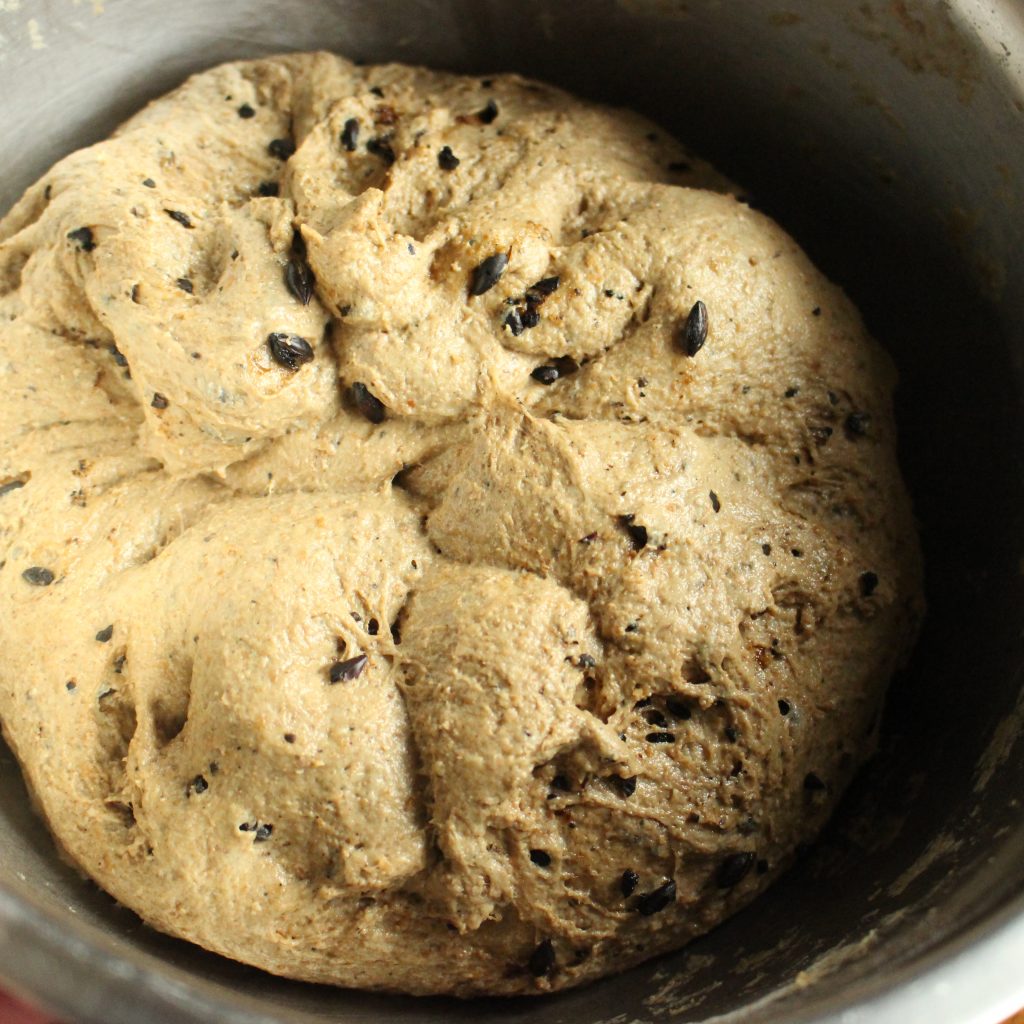
Cover the dough and leave it to ferment in a warm place.
How long to bulk ferment?
This bulk fermentation will take anywhere from 3 to 6 hours depending on the temperature of your house and the strength of your starter. With a temperature of 26C/80F I usually leave my dough for 3-4 hours, giving it a gentle stretch and fold every hour.
The dough will be ready when it’s visibly increased in size and feels light and airy when you come to it after a resting period.
Shaping, panning and proofing:
Prepare your loaf tin, if using, by greasing and flouring.
Gently remove the loaf from your proofing bowl and form it into your desired shape, tucking the sides under, as you would in a stretch and fold. Once ready, place it gently in your tin. Cover this (allowing room for expansion) and return it to your warm place to proof.
If you wish to make a freestanding loaf, shape the loaf to your desired form and place in a proofing bowl, such as a banneton. Cover this and and return the dough to your warm place to proof.
How long to proof?
At a temperature of 26C/80F the proofing time for this loaf is between 1.5 and 2.5 hours. The dough will visibly rise – as much as 50%.
Baking:
After proofing, when your loaf has visibly risen, you are ready to bake.
The cooking time/temperature will differ, depending on the pan and oven you are using.
For my Emile Henry ceramic loaf tin with lid, I cook as follows:
Preheat the oven, on the non-fan setting, to 210C/410F Cook for 15-minutes at 210C/410F, then reduce oven temperature to 190C/375F and cook for a further 50 minutes.
You could try to replicate this method by tenting your loaf with aluminium foil.
For cooking as a free-standing loaf, I suggest using a pizza/baking stone in the following way:
Preheat the oven and baking stone on the non-fan setting, to 230C/445F. Cook the loaf, covered by an upturned bowl at 230C/445F for 15 minutes. Turn the oven down to 200C/390F, remove the upturned bowl and cook for a further 35 minutes.
Your loaf will be done when it sounds hollow when you tap the base. I find an internal temperature of 95C/200F to be a good measure too.